
Browse docs
Work with leads
Every person your campaigns reach, in one table: what each column and status means, a lead's full details, tags, stopping a sequence and Do Not Contact.
Updated
On this page
The Leads page lists everyone who has been added to a campaign, across all your campaigns and seats. Each row is one lead in one campaign. It shows where they are in the sequence, how it's going and what happened. Use it to check on a lead, tag them, stop their sequence or make sure no campaign ever contacts them again.
Good to know: A lead appears here once a campaign it belongs to has been launched. Lists you've imported but not used yet live on the Lead Lists page. See Manage, edit and delete lists.
How it works
- You launch a campaign. Everyone on its lead list is added to it and appears here with the status Queued.
- As the campaign runs, each lead moves through the sequence. The Sequence progress column shows the step they're on, and the status changes to Active.
- A lead finishes as Completed, or as Aborted if someone stopped them, or as Failed if a step couldn't be done.
- Some leads are skipped before anything is sent. They show Duplicate (someone else is already reaching them) or Blacklisted (they're on your Do Not Contact list).
- Click any lead to see everything in one panel: what was sent, what they did, and their LinkedIn profile.
Before you start
- A campaign that has been launched. See Build and launch a campaign.
- To tag leads or stop a sequence, your role needs permission to update lead lists. To add someone to Do Not Contact, it needs permission to update the workspace. Buttons you can't use are greyed out, and hovering one says which permission is missing.
Open the Leads page
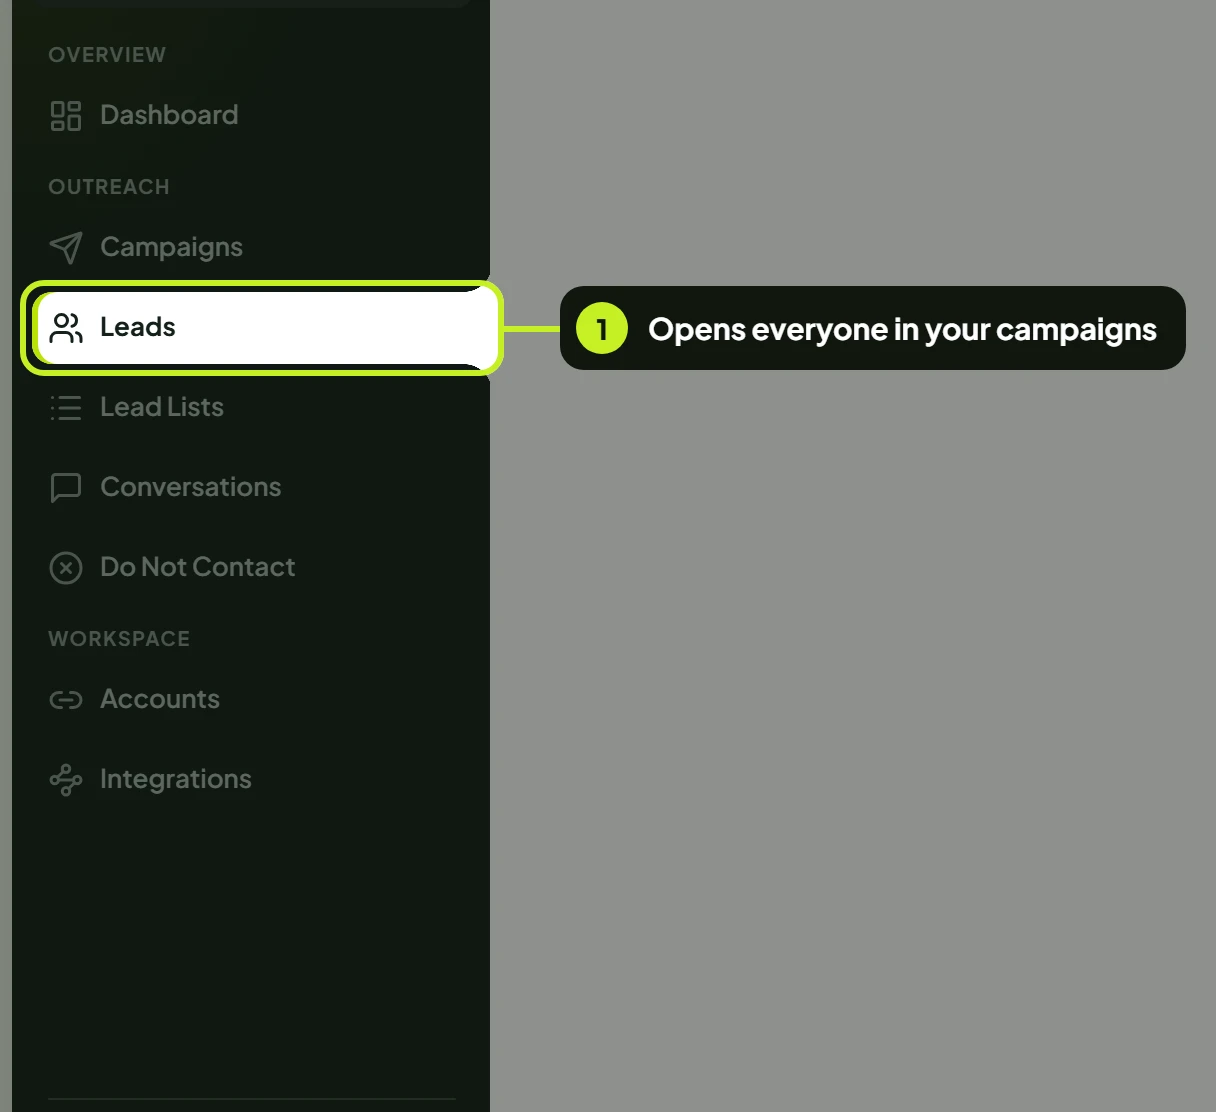
- In the sidebar, under Outreach, click Leads.
The Find leads button at the top right takes you to Lead Lists with the Create Lead List picker already open. That's where you import new people.
Find a lead
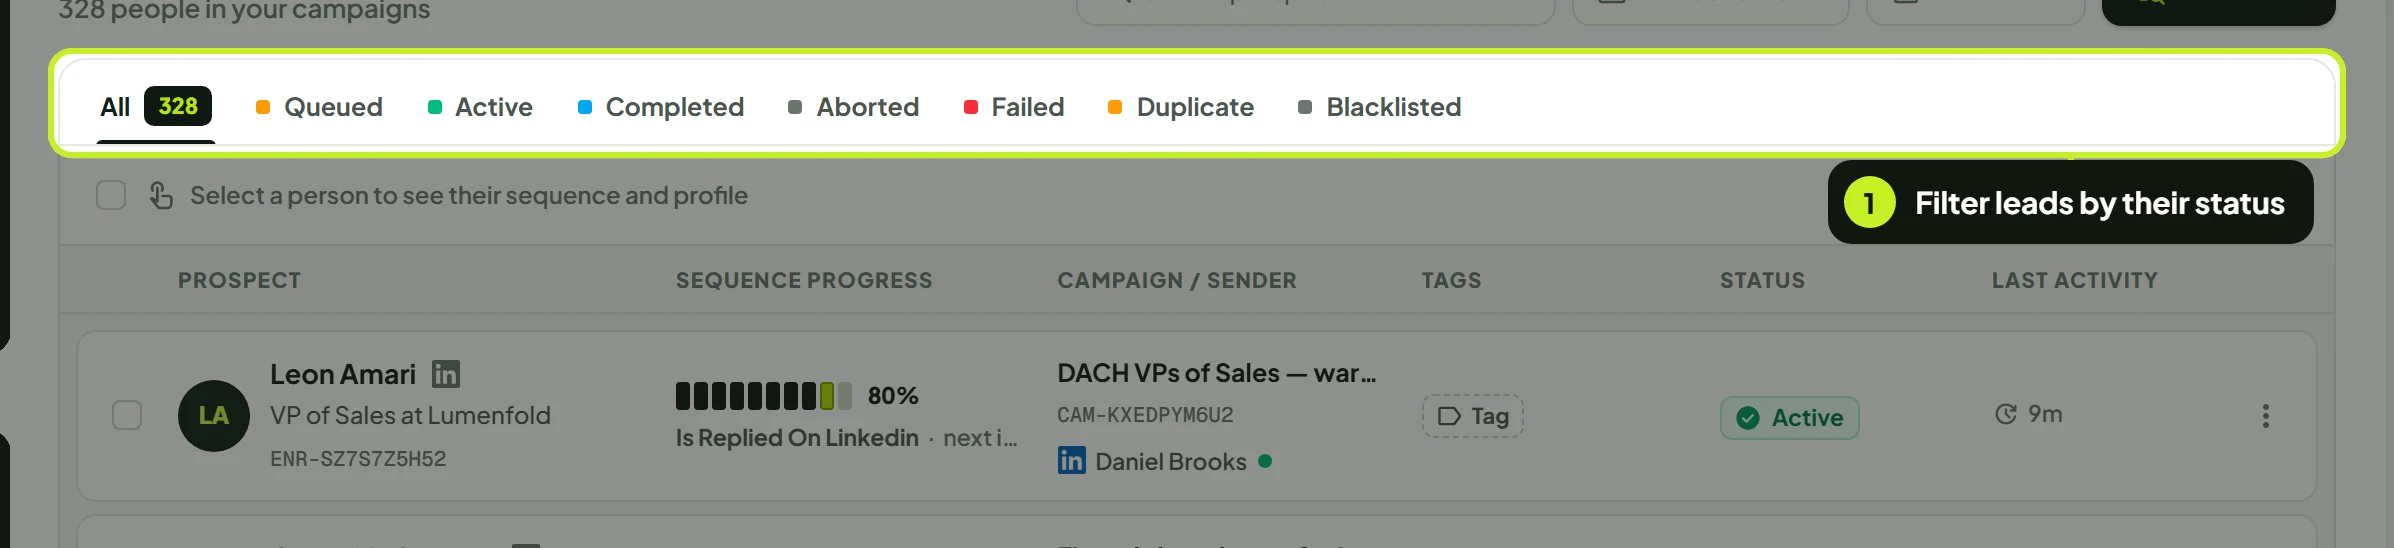
- Click a status tab to show only leads with that status. The tab you're on shows how many leads it holds.
- Type in Search prospects... to find a lead by name.
- Click All Accounts to show leads from one sender seat. Pick a seat, then a campaign of that seat to narrow it further. If a seat has no campaigns, you'll see No campaigns for this account.
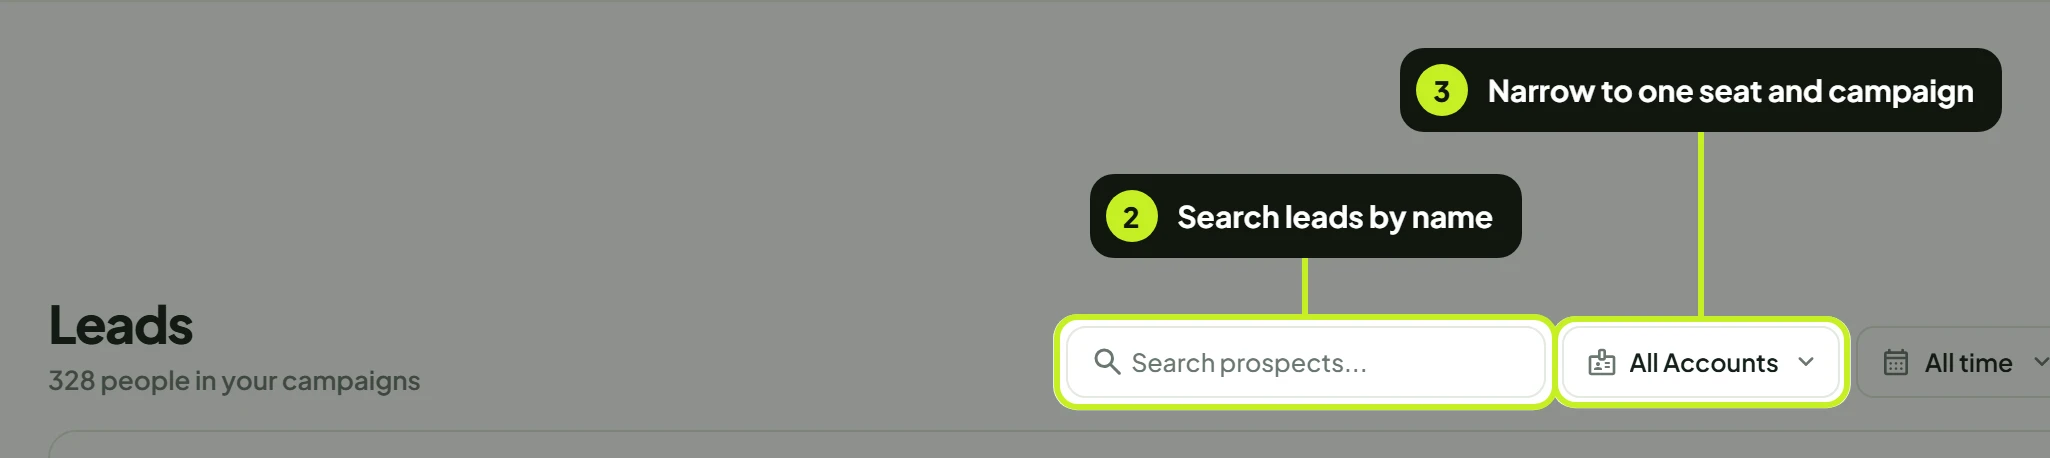
The date filter next to it (All time) limits the table to leads added in that period: Today, Last 7 days, Last 30 days, Last 90 days or a Custom range. Filters work together, so you can combine Failed with one seat and the last 7 days.
What each column shows
| Column | What it shows | Notes |
|---|---|---|
| Prospect | The lead's name and their LinkedIn headline (or email address for an email lead) | The small LinkedIn button next to the name opens their profile; on an email lead it copies the address instead, ticking and reading Copied. No headline captured means LinkedIn didn't give us one. |
| Campaign / sender | The campaign this lead is in, and the seat sending to them with a dot showing whether it's Connected or Disconnected | A disconnected seat can't send, so its leads stop moving until you reconnect it on Accounts. |
| Sequence progress | The step the lead is on right now, and how far through the sequence they are | See Read the sequence progress. Clicking this cell opens the lead on the Sequence tab. |
| Status | Where the lead stands overall | See Statuses. |
| Tags | Up to two tags, then +1, +2 and so on | Click Tag (or +) to add or remove tags. |
| Last activity | How long ago something last happened for this lead, for example 3d | Hover it for the exact date and time. |
| ⋮ | The row's actions menu | See Row actions. |
The bottom of the table shows how many leads match, for example 1–10 of 10 prospects, with Rows per page and page buttons.
Statuses
Every lead has one status. Each one is a tab at the top of the table.
| Status | What it means | What happens next |
|---|---|---|
| Queued | The lead has been added to the campaign but the first step hasn't run yet. | The campaign picks them up within its sending window and daily limit. Their stage reads Not started and Awaiting first touch. |
| Active | The sequence is running for this lead. | They move from step to step on their own. You can stop them at any time. |
| Completed | The lead reached the end of their path through the sequence. | Nothing more is sent to them by this campaign. |
| Aborted | Someone on your team stopped this lead's sequence before it finished. | Nothing more is sent. It can't be restarted. |
| Failed | A step couldn't be done, even after retries. | Nothing more is sent. Open the lead to see which step failed and why. |
| Duplicate | Skipped before any step ran, because the lead is already being reached. The reason is shown, for example Already being reached from this account. | Nothing is sent by this campaign. See Prevent duplicate outreach. |
| Blacklisted | Skipped before any step ran, because the lead is on your Do Not Contact list. The reason reads On this organization's blacklist. | Nothing is sent, on LinkedIn or email. See Use the blocklist. |
A stopped, completed, failed or skipped lead can't be restarted. To reach that person again, add them to a new lead list and campaign.
Read the sequence progress
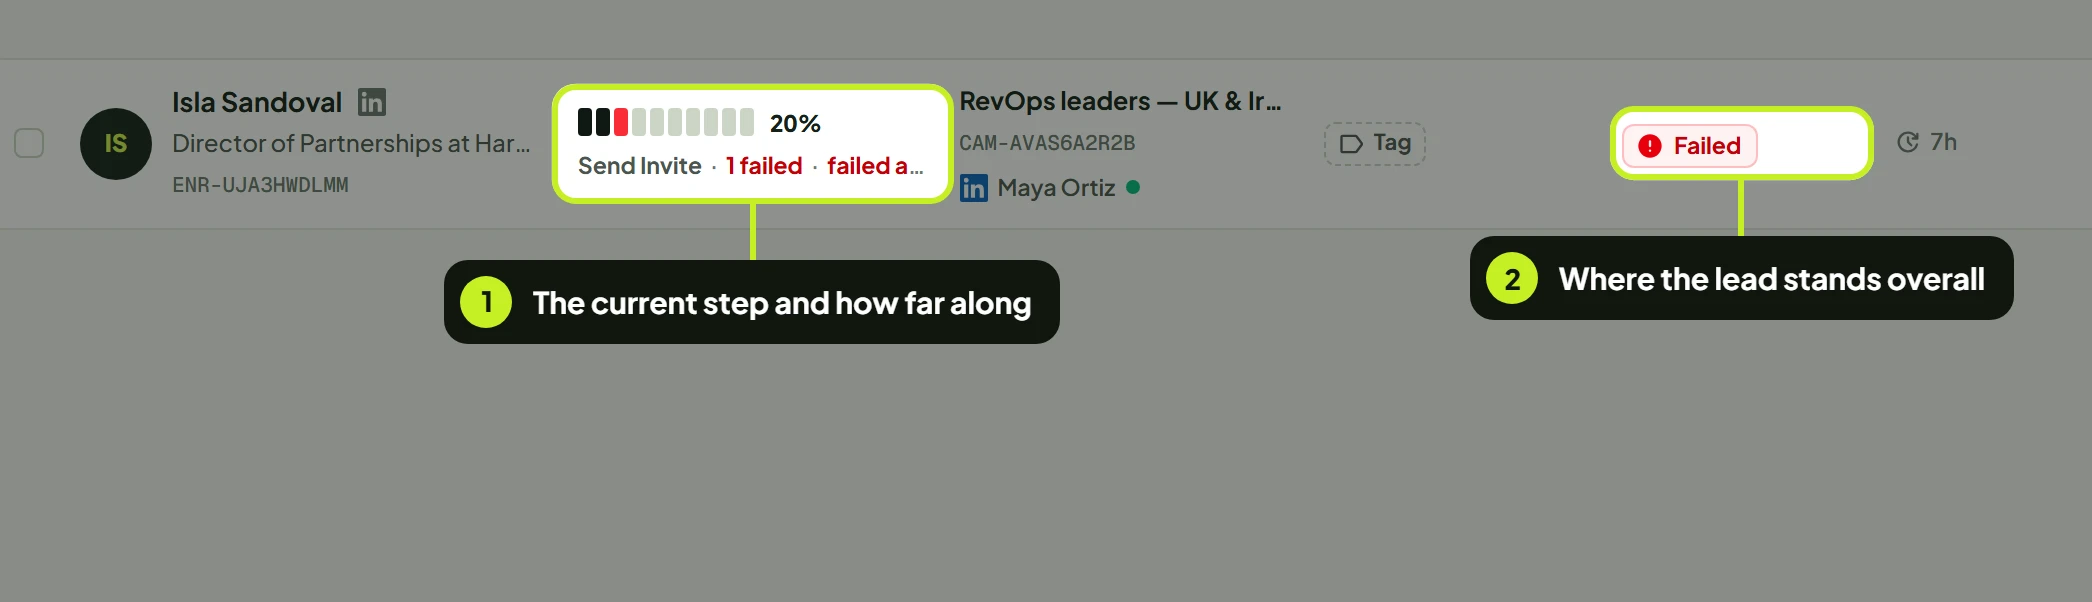
- Sequence progress names the step the lead is on, for example Send Invite or Linkedin Request Accepted, and shows the share of the sequence that's done.
- Status sums up the whole run for that lead.
| What you see in Sequence progress | What it means |
|---|---|
| 33% · next in 19h | A third of the sequence is done. The next check or step is due in 19 hours. |
| due now | The next step is ready and will run in the campaign's next sending slot. |
| retrying (attempt 2) | The last try didn't go through, and the step will be tried again. |
| 1 failed · failed after 3 attempts | The step gave up after three tries, so the lead is Failed. |
| Not started · Awaiting first touch | The lead is Queued and nothing has been sent yet. |
| Sequence complete with a full bar | Every step on the lead's path is done. |
| Skipped and a reason | The lead was Duplicate or Blacklisted, so no step ran. |
The step chip is coloured by how that step is going. For a condition step such as Linkedin Request Accepted, Waiting means ReacherPro is still checking for the answer.
Open a lead's details
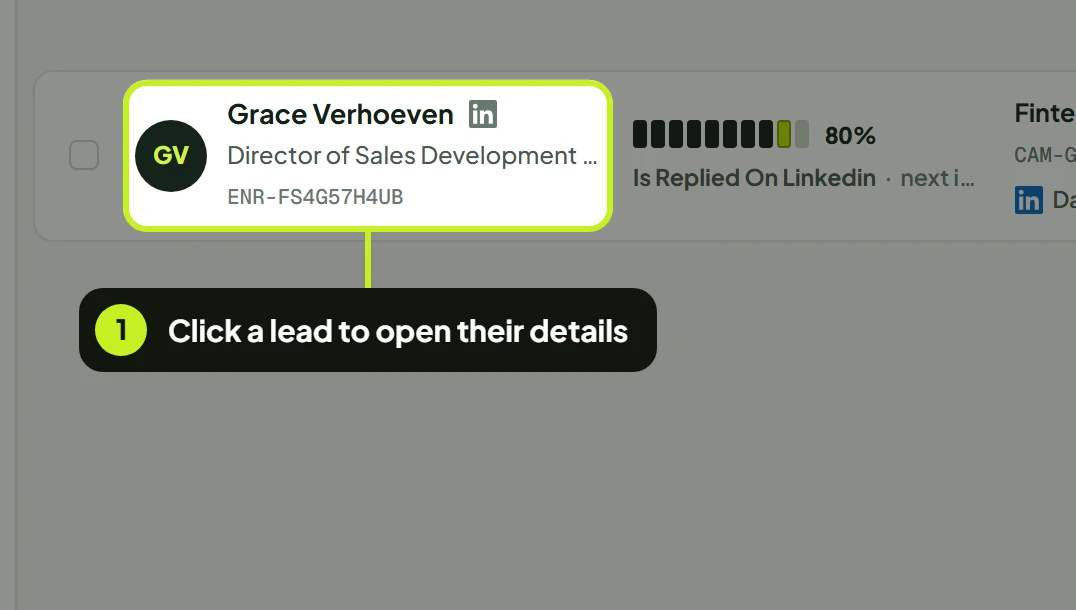
- Click a lead's name to open their details on the right.
The panel opens with the lead's name, headline, enrolment ID (with a copy button) and status at the top, plus LinkedIn to open their profile (or Copy email for an email lead). Under that are three tabs: Overview, Sequence and Profile. Close it with ×. Do not contact and Stop execution sit at the bottom of the panel, on every tab.
Overview
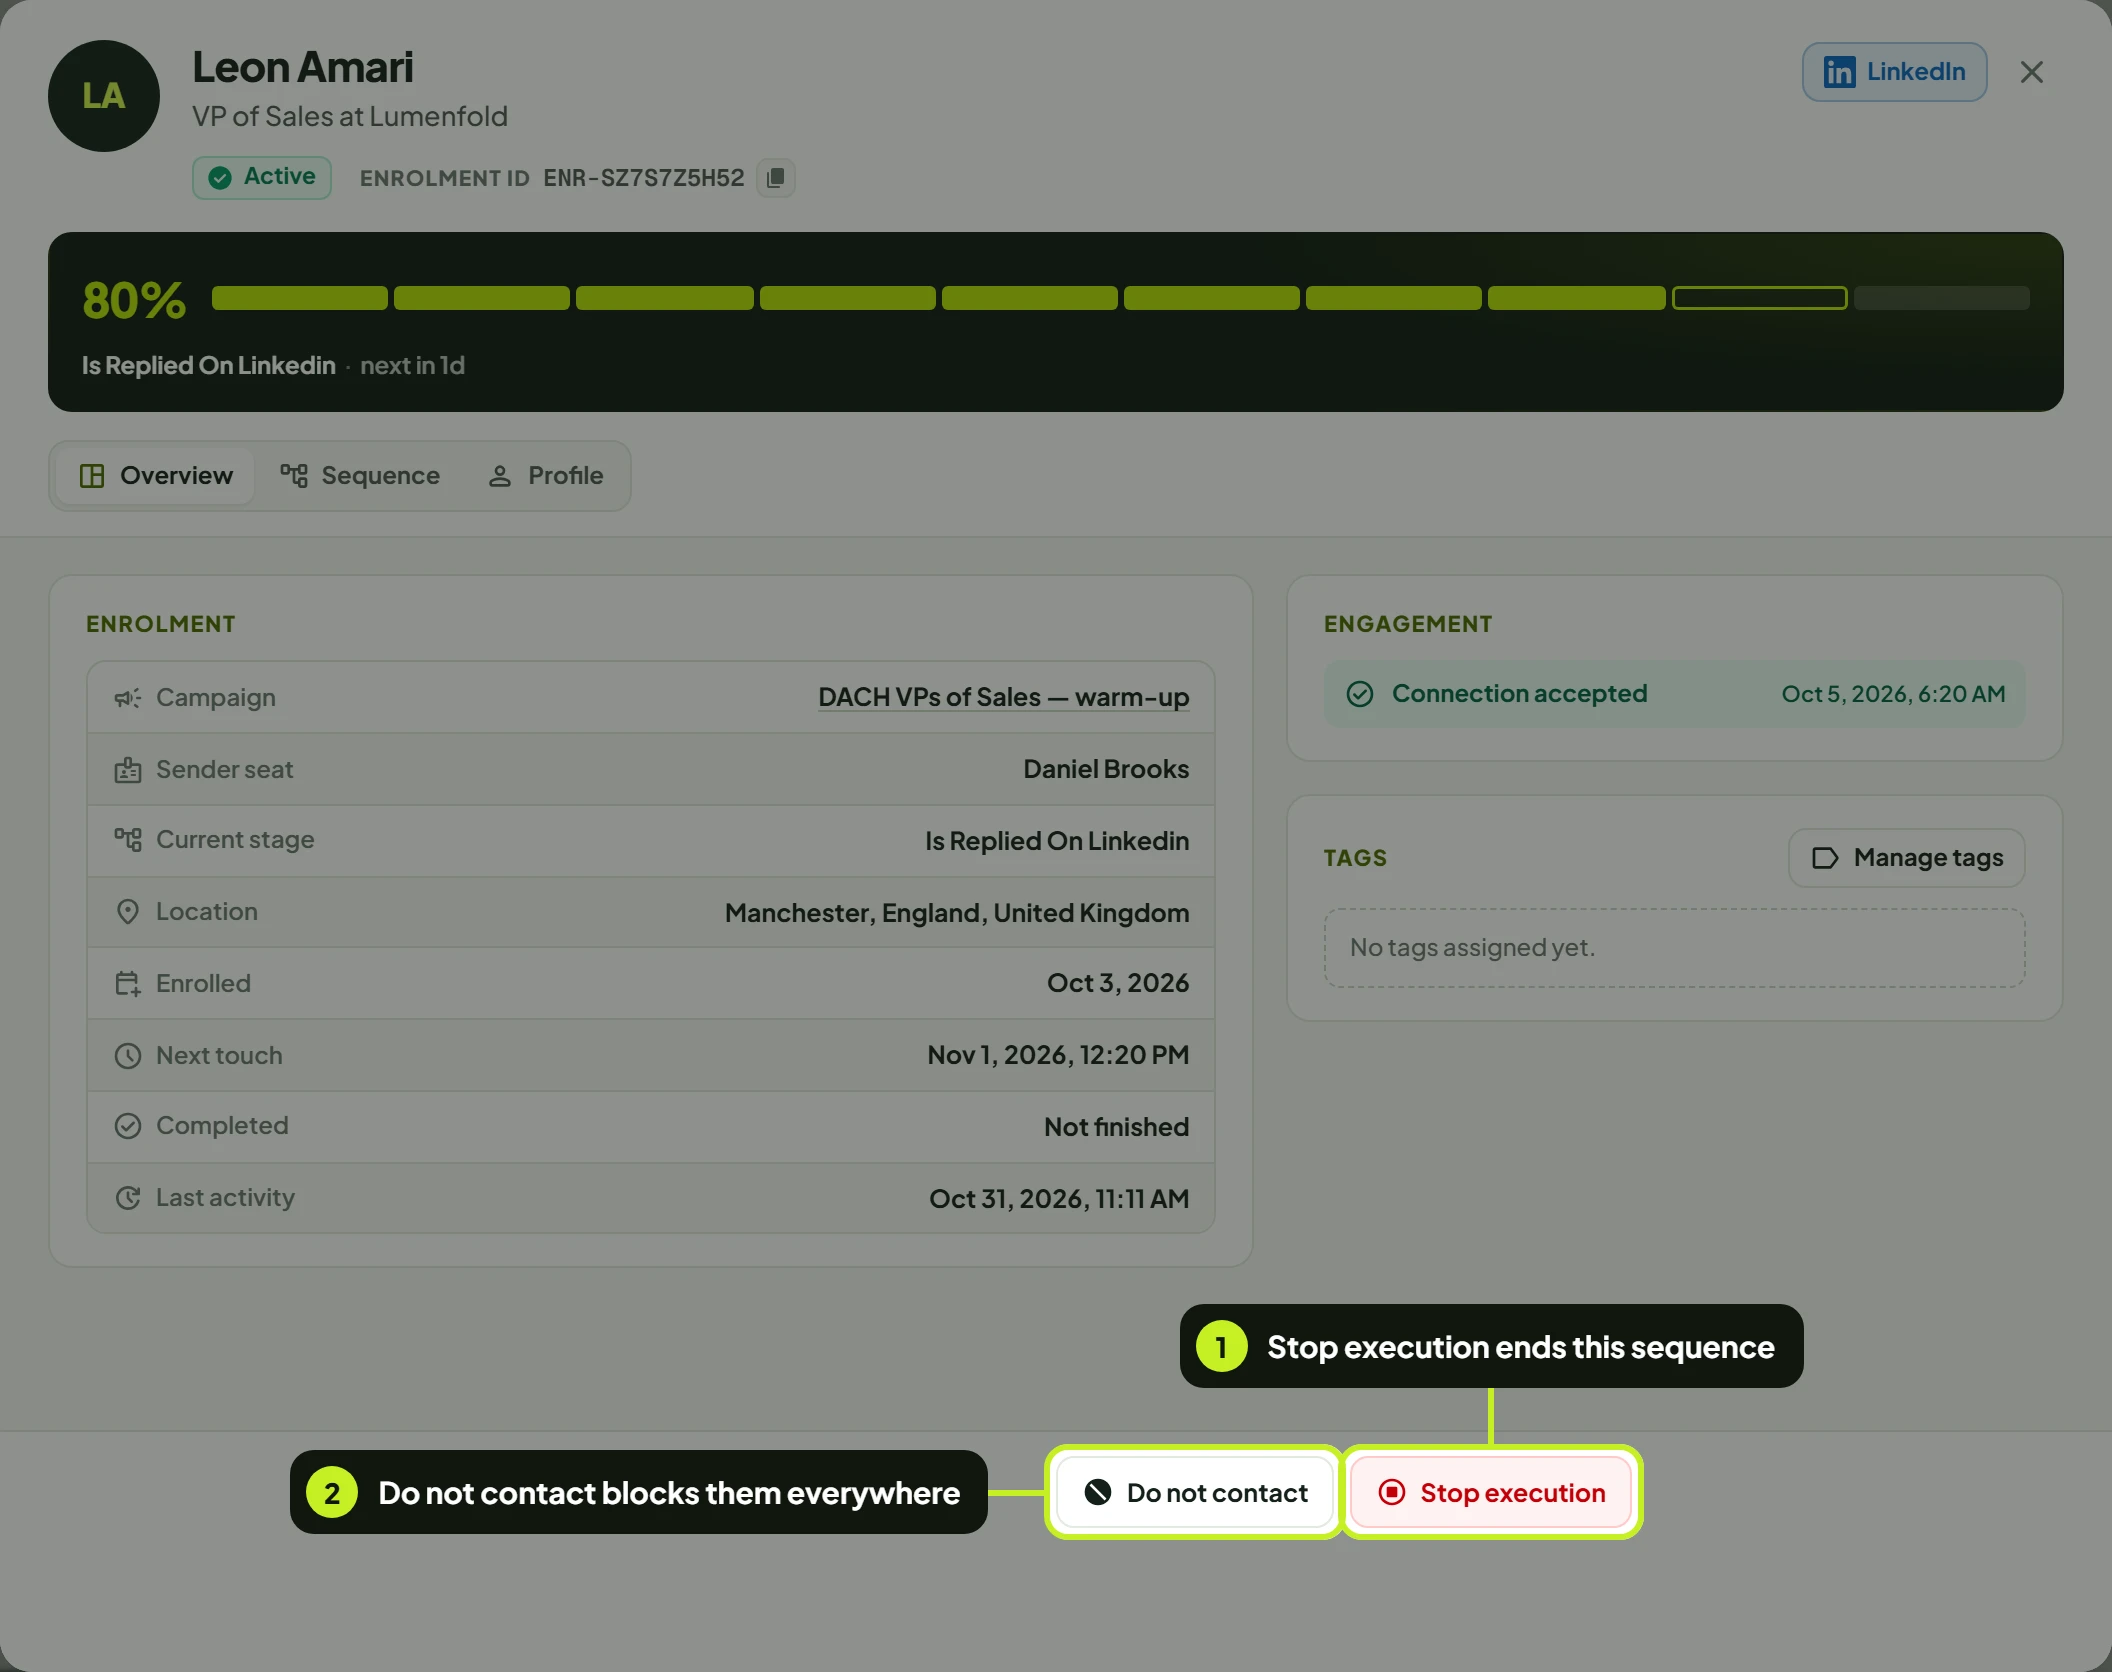
| Section | What it shows |
|---|---|
| Activity signals | Short notes on what happened: replies received, connections accepted, steps that failed, why the lead was skipped, or Stopped by a user. A lead with no activity yet shows Queued for first touch. |
| Engagement | What the lead did, with the date and time: Connection accepted, Replied on LinkedIn, Replied by email, Email opened, Email link clicked, Message seen, Post liked. |
| Enrolment | Campaign, Sender seat, Current stage, Location, Enrolled (date added), Next touch (when the next step or check is due), Completed (or Not finished) and Last activity. |
| Tags | The lead's tags. Manage tags opens the same tag picker as the table. |
Sequence
- Click Sequence to see every step the campaign has run for this lead.
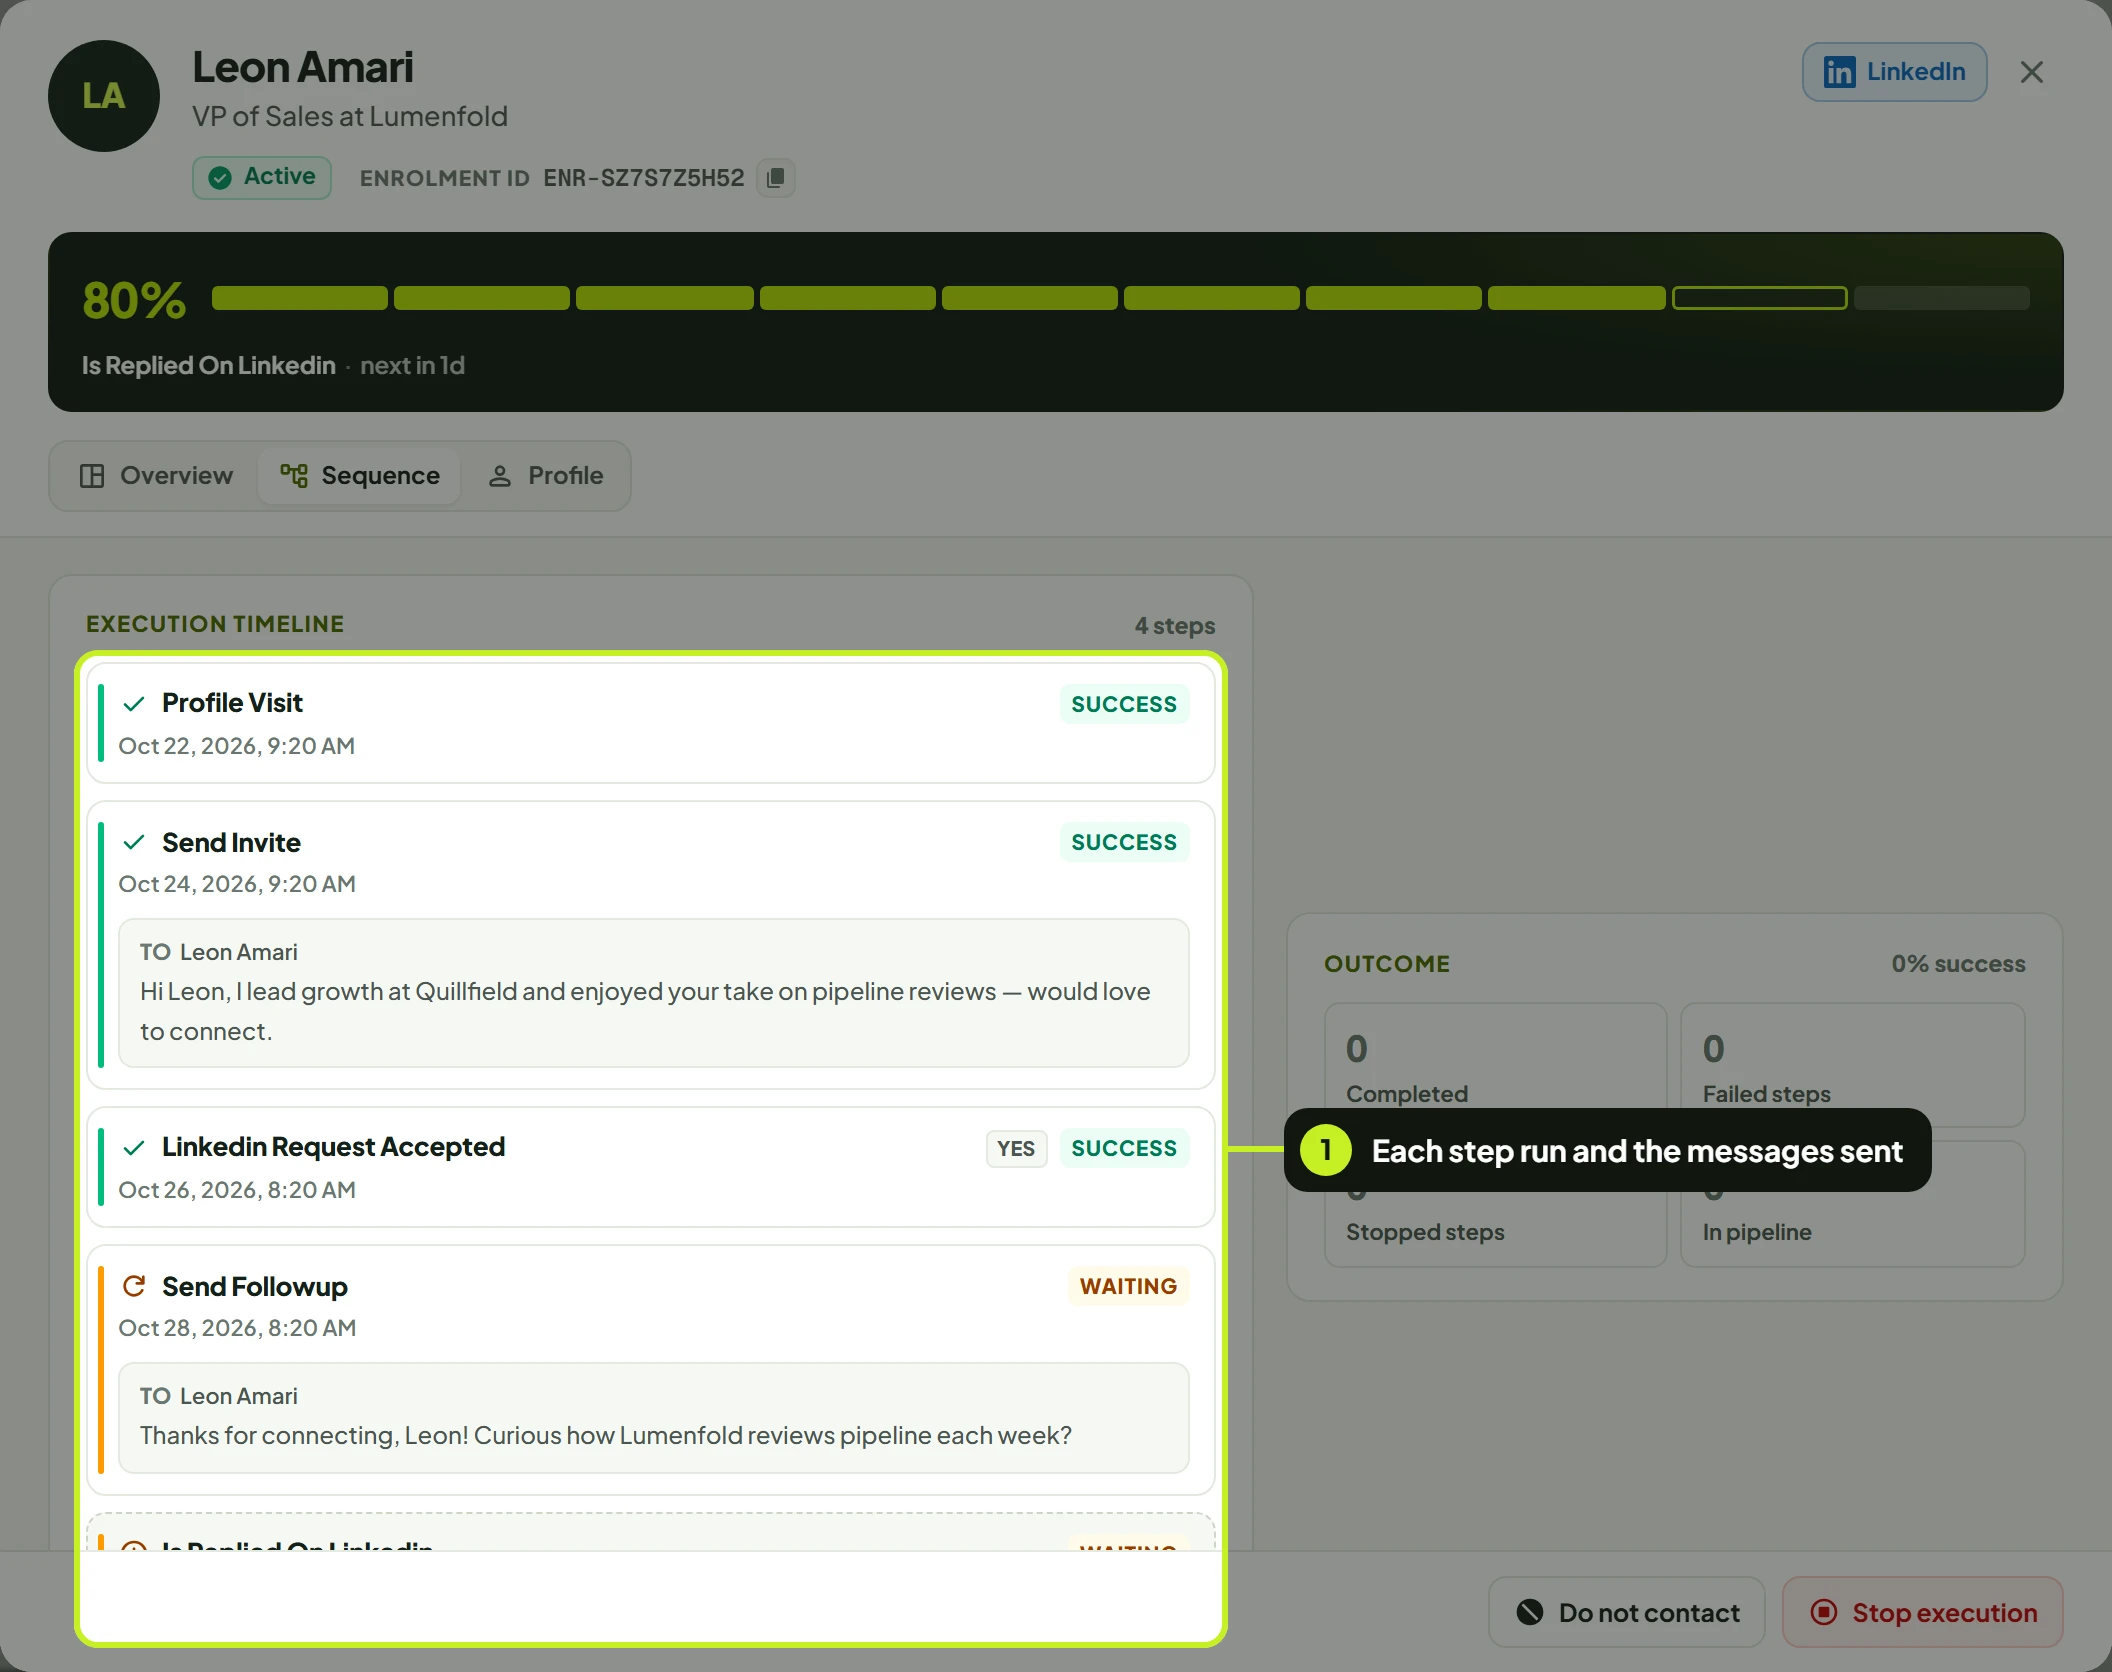
- Execution timeline lists the steps in order, each with its status (for example Done, Waiting, Retry, Failed or Skipped) and the date and time. Condition steps show which branch the lead took: Yes or No. Sending steps show the message that was actually sent, and To for emails. The step running now shows Entered and Next check.
- Delivered actions counts what was done for this lead: Invites sent, Accepted, Replies, Profile visits, Follow-ups, Emails sent, Emails opened and so on. Only counts above zero are listed.
- Outcome shows Completed, Failed steps, Stopped steps and In pipeline, with the campaign's reply rate.
When a step failed, the reason is shown under it, for example This step could not be completed.
Profile
- Click Profile to see the lead's LinkedIn profile as ReacherPro saved it.
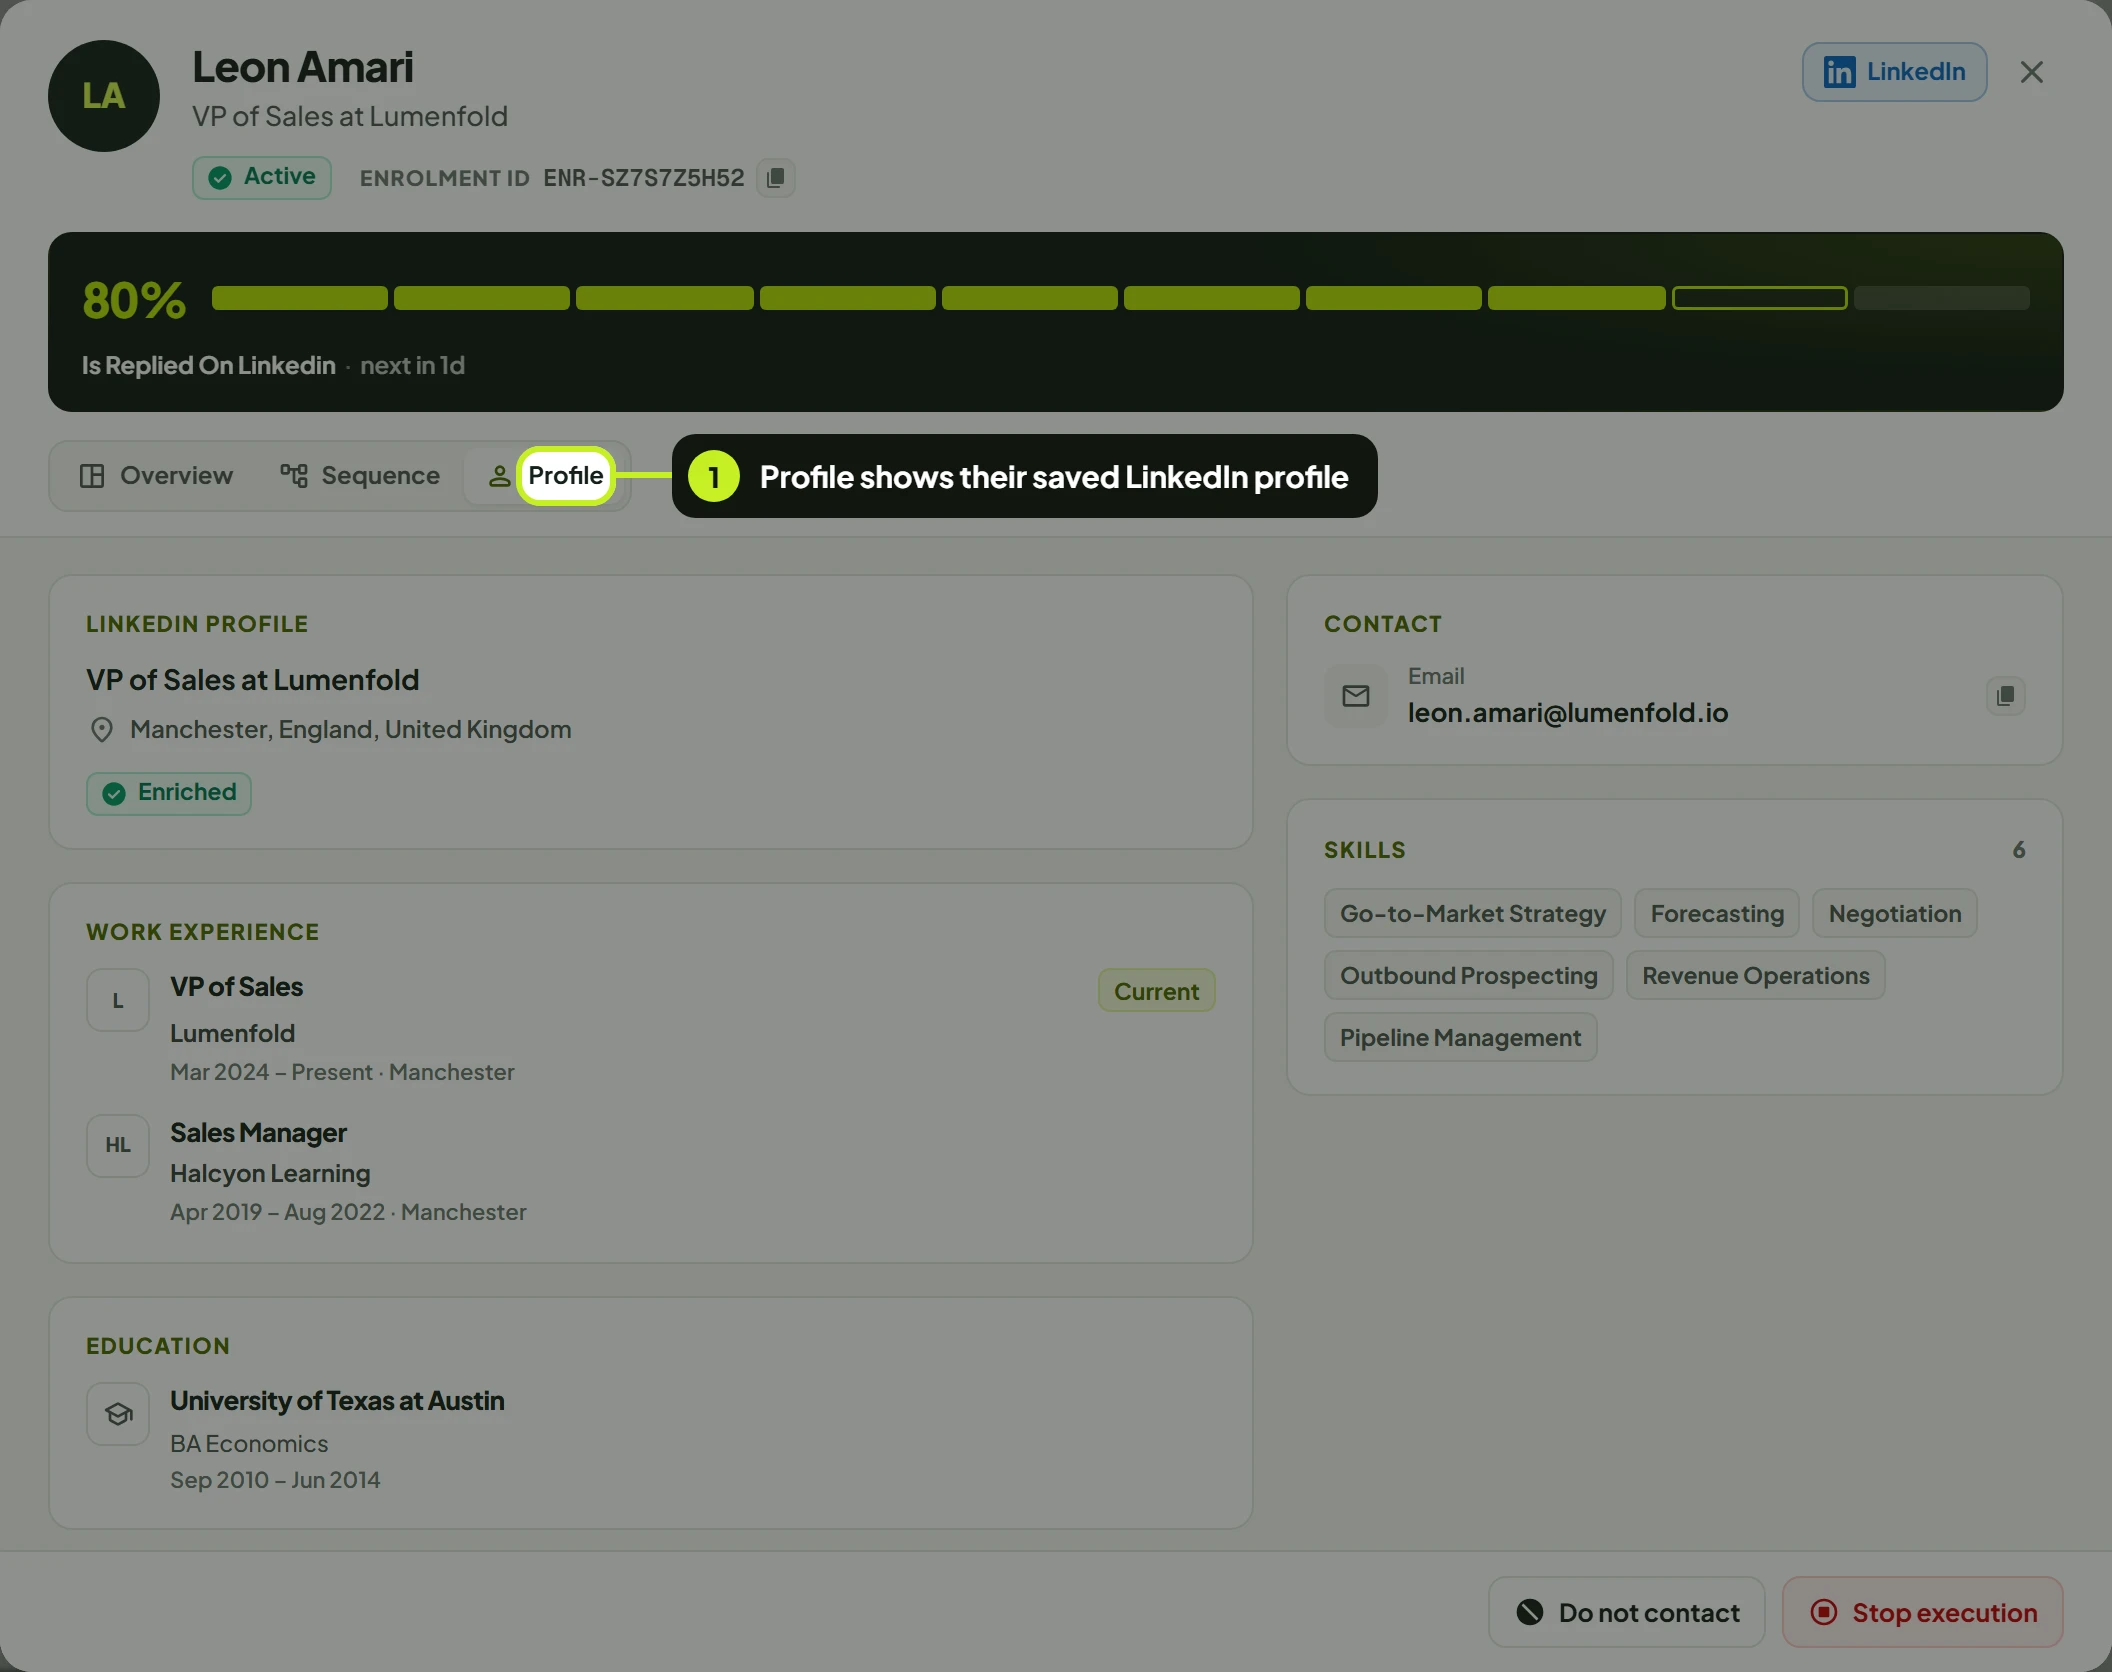
| Section | What it shows |
|---|---|
| LinkedIn profile | Name, headline and location. How you're connected (1st degree, 2nd degree, 3rd degree, Out of network), InMail available when you can InMail them, connection and follower counts, and markers such as Premium, Open to work or Hiring. |
| Contact | Email, Phone and Website, each with a copy button that ticks and reads Copied. An address that bounced shows Bounced and the date. |
| About | The lead's own LinkedIn summary. |
| Work Experience | Roles, newest first. Current marks the role they hold now. |
| Education, Skills, Languages, Certifications | Shown when the profile has them. |
Email-only leads usually have less here, often just a name and an email address.
Tag a lead
- In the Tags column, click Tag (or + if the lead already has tags).
- Click a tag to add it, and click it again to remove it. Use Search tags to find one, or New tag to make your own.
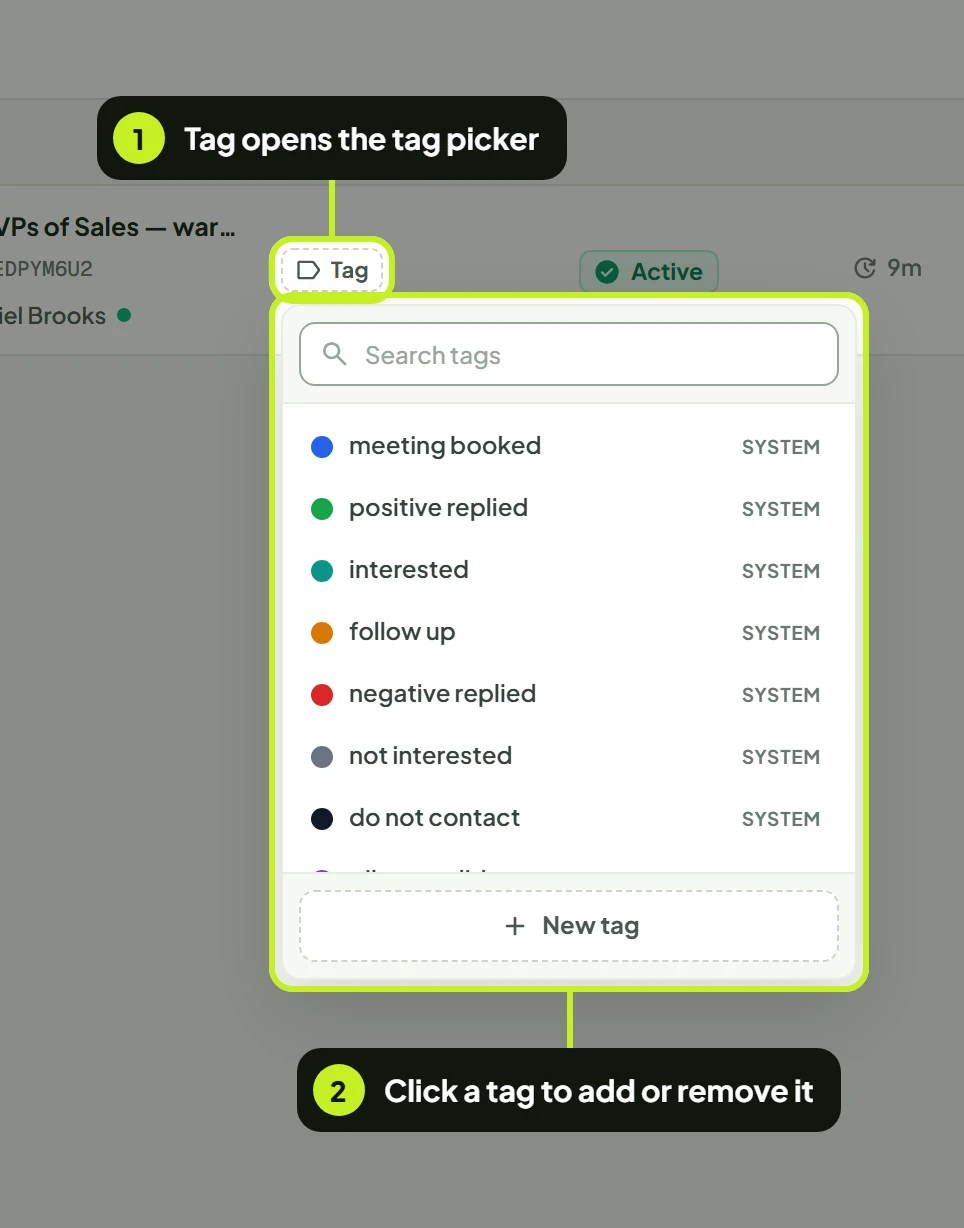
Tags are for sorting your leads. They don't change what a campaign sends. Tags marked System are built in and can't be renamed or deleted.
Row actions
- Click ⋮ at the end of a row to open its actions.
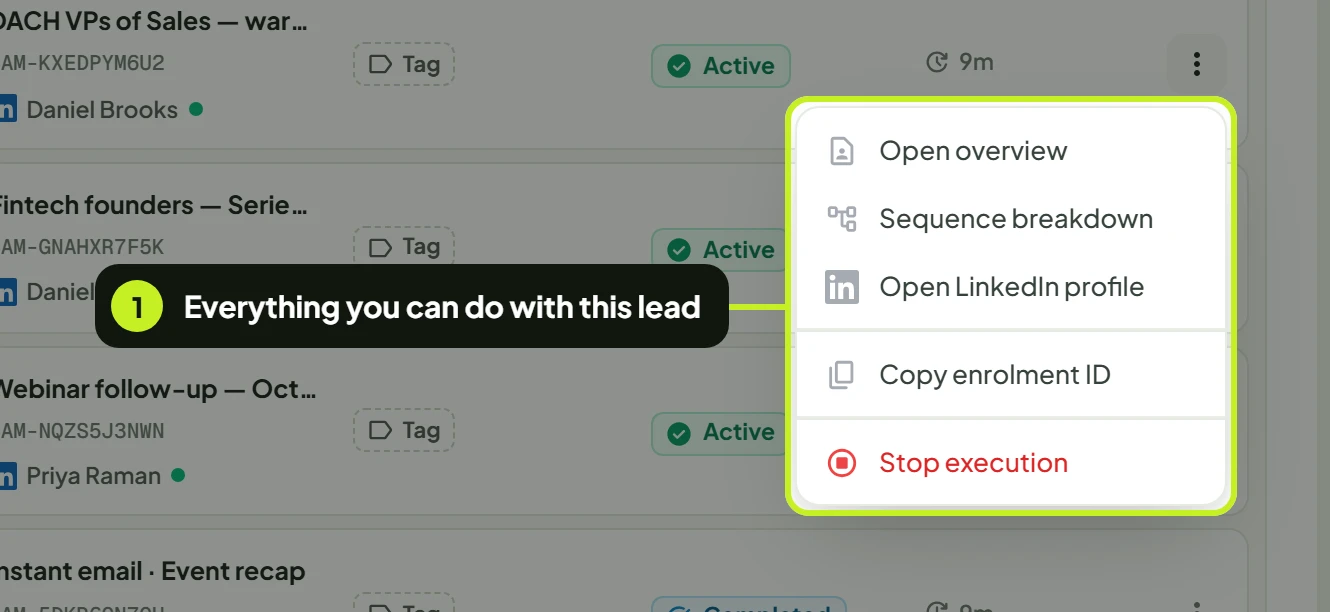
| Action | What it does |
|---|---|
| Open overview | Opens the details panel on Overview. |
| Sequence breakdown | Opens the details panel on Sequence. |
| Copy email | Copies the lead's email address. Only shown when we have one. |
| Open LinkedIn profile | Opens the lead's profile in a new tab. Only shown when we have their profile URL. |
| Copy enrolment ID | Copies the ENR-… ID. |
| Stop execution | Stops the sequence for this lead. Greyed out, with This person's sequence has already ended, once the lead has finished or was skipped. |
Stop a lead's sequence
Stop a lead when you've spoken to them some other way, or they've asked you to stop.
- Open the lead's actions menu, or their details panel, and click Stop execution.
- In Stop execution? (Campaign execution will stop for {name}.), click Stop execution to confirm.
The lead becomes Aborted and nothing more is sent to them by that campaign. This can't be undone. Stopping only affects this one campaign. If the person is in other campaigns, they keep going there. To stop every campaign reaching them, use Do not contact below.
Stop several leads at once
- Tick the leads. The bar above the list shows how many are selected.
- Click Stop execution in the bar, then confirm in Stop execution for selected leads?
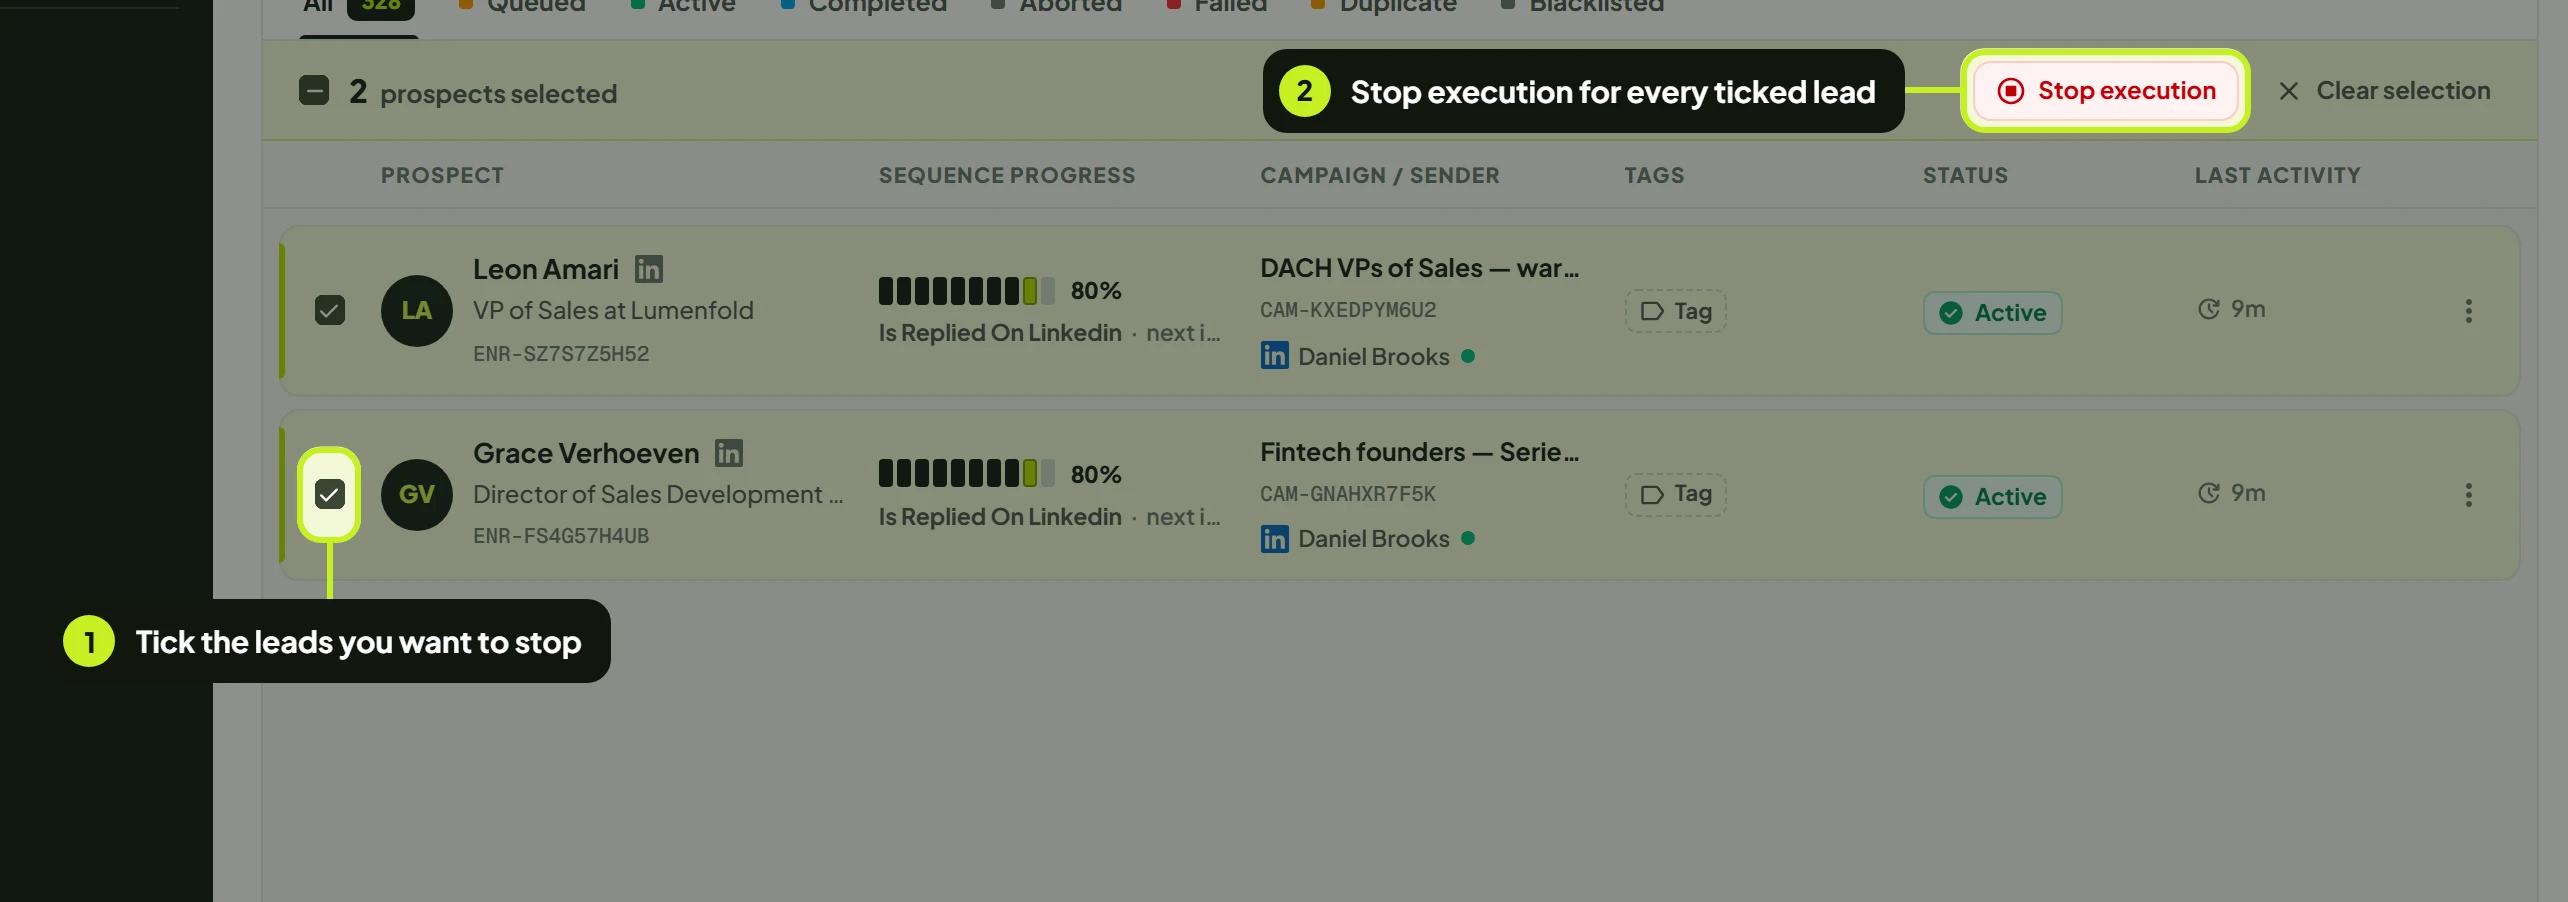
Stop execution in the bar only works when every selected lead is still Queued or Active; otherwise it's greyed out with Only people still in a sequence can be stopped. Untick the finished or skipped leads first. Click Clear selection to untick them all.
Add a lead to Do Not Contact
Use this when someone replies please don't contact me again, or should never hear from you.
- Open the lead's details panel.
- Click Do not contact at the bottom of the panel. Hover it first to see what it does: Adds their LinkedIn profile and email to Do Not Contact, so no campaign reaches them again.
You'll see {name} is on your Do Not Contact list. Campaigns will skip them. and the button changes to Blocked.
What happens:
- The lead's LinkedIn profile is added to your blocklist as a People entry, and their email address (if they have one) as an Email entry.
- Every campaign in your workspace skips them from now on, on LinkedIn and email. In campaigns they're added to later, they show as Blacklisted.
- It does not stop a sequence that's already running for them. Click Stop execution as well if you want this campaign to stop straight away.
The button works when the lead has a LinkedIn profile URL or an email address; otherwise it's greyed out with No LinkedIn profile or email to block. To undo it, remove the entries on the Do Not Contact page. See Use the blocklist.
Common problems
| What you see | What it means | What to do |
|---|---|---|
| No prospects enrolled yet | No campaign has been launched, so nobody has been added yet. | Click Build a lead list, then launch a campaign with it. |
| No prospects match these filters | The status tab, seat, campaign, date or search hides everyone. | Switch to All, choose All Accounts and All time, and clear the search. |
| Prospects could not be loaded | The leads didn't load. | Click Retry. |
| A lead shows Duplicate | Another campaign or seat is already reaching them, so this campaign skipped them. | Nothing to fix. The reason is shown under Sequence progress. See Prevent duplicate outreach. |
| A lead shows Blacklisted | They match an entry on your Do Not Contact list. | If that's a mistake, remove the entry on Do Not Contact. Then add them to a new campaign. |
| failed after 3 attempts | A step gave up, for example because LinkedIn didn't accept the action. | Open the lead's Sequence tab to see the reason. Check the seat is Connected on Accounts. |
| Leads stay Queued | The campaign hasn't reached them yet, it's paused, or its seat is disconnected. | Check the campaign is running and the seat is Connected. Each campaign starts a limited number of new leads per day. |
| Stop execution is greyed out on a lead | The lead is already Completed, Aborted, Failed, Duplicate or Blacklisted. | Nothing to stop. |
| Stop execution is greyed out in the selection bar | At least one selected lead has already finished or was skipped. | Untick those leads. |
| Do not contact is greyed out | The lead has neither a LinkedIn profile URL nor an email address. | Add them by name or company on the Do Not Contact page. |
| A button is greyed out and the tooltip names a permission | Your role doesn't include it. | Ask a workspace admin to update your role. |
Next: Keep people out of every campaign with Use the blocklist.