
Browse docs
API keys
Create an API key so your own tools can call the ReacherPro API — copy it once, set an expiry, rename or revoke it, and find the API reference.
Updated
On this page
An API key lets your own tools — a script, a data warehouse sync, an internal dashboard — work with your ReacherPro workspace through the API. You create keys in Settings > API & Webhooks, and the API reference on the same page explains every endpoint.
How it works
- You create a key and give it a name, and an expiry date if you want one.
- ReacherPro shows the full key once. You copy it and store it somewhere safe.
- Your tool sends the key with each API request, as the API reference describes.
- When a key is no longer needed — or may have leaked — you revoke it and it stops working immediately.
Important: Treat an API key like a password. Anyone who has it can use the API as your workspace. Keep it on a server or in a secrets manager, never in a browser, an email or a public repository.
Open the page
- In the sidebar, click Settings.
- Open the API & Webhooks tab.
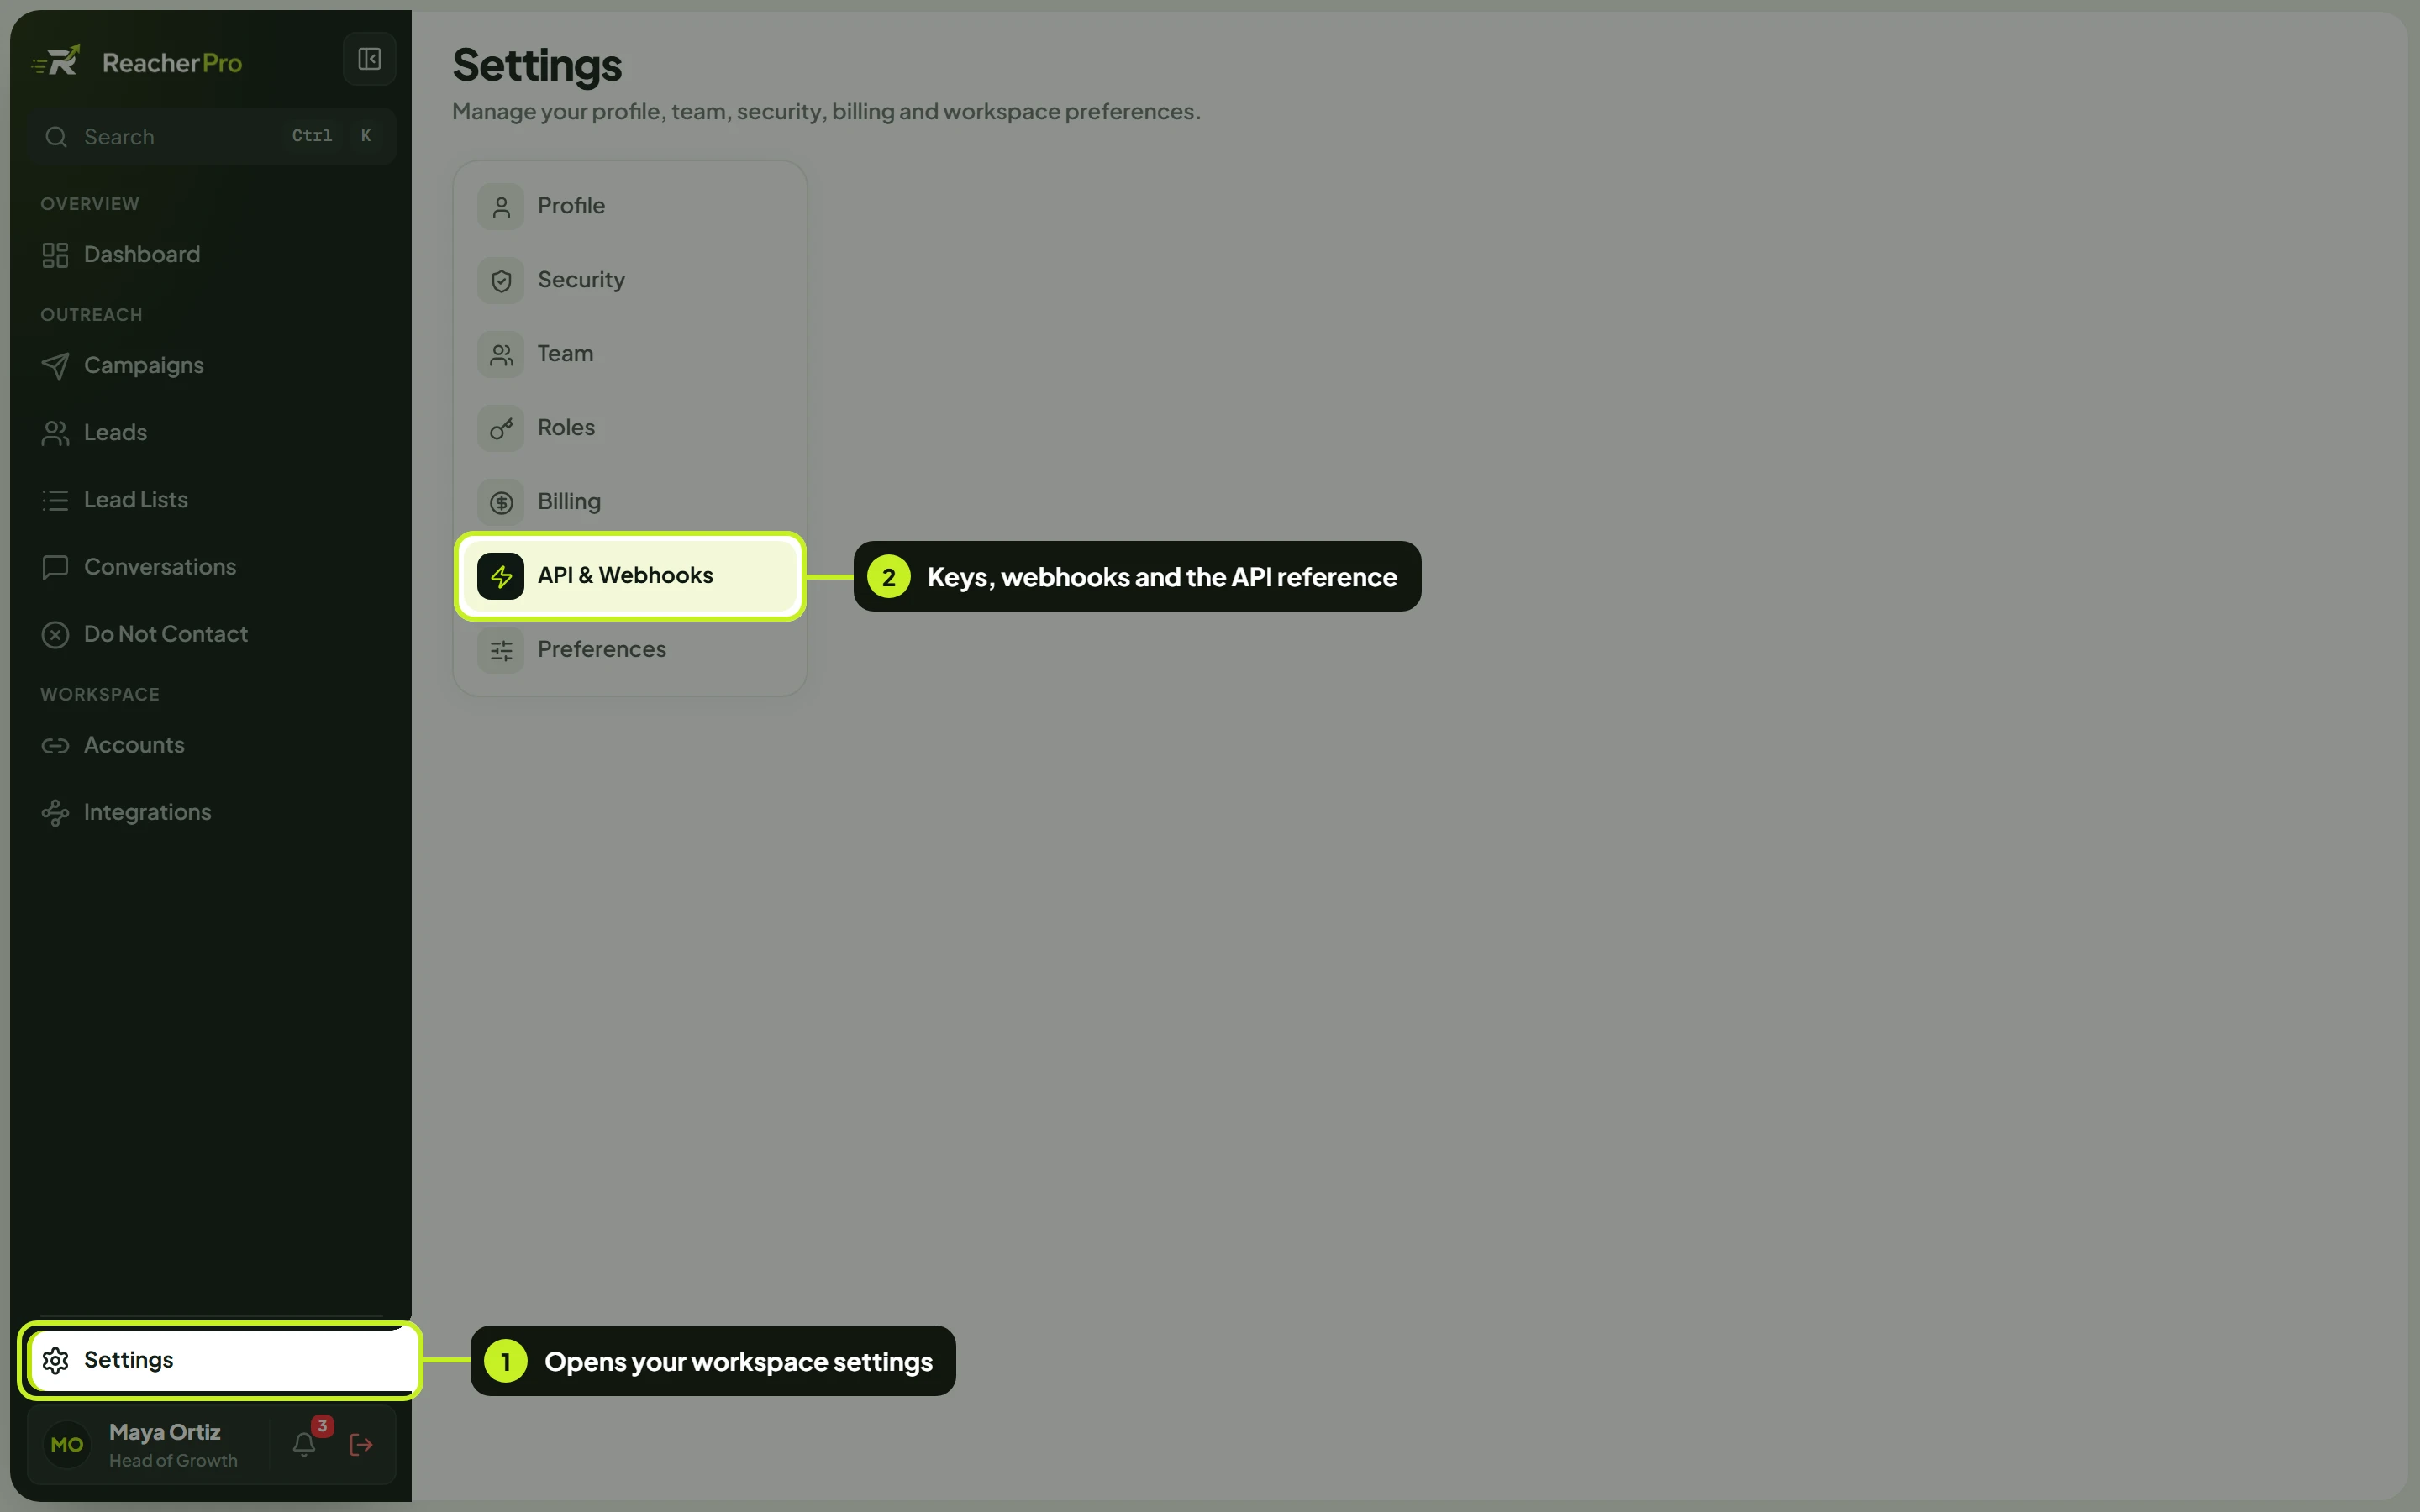
| Area | What it's for |
|---|---|
| API reference | Endpoints, authentication and payloads. Open reference opens it in a new tab. |
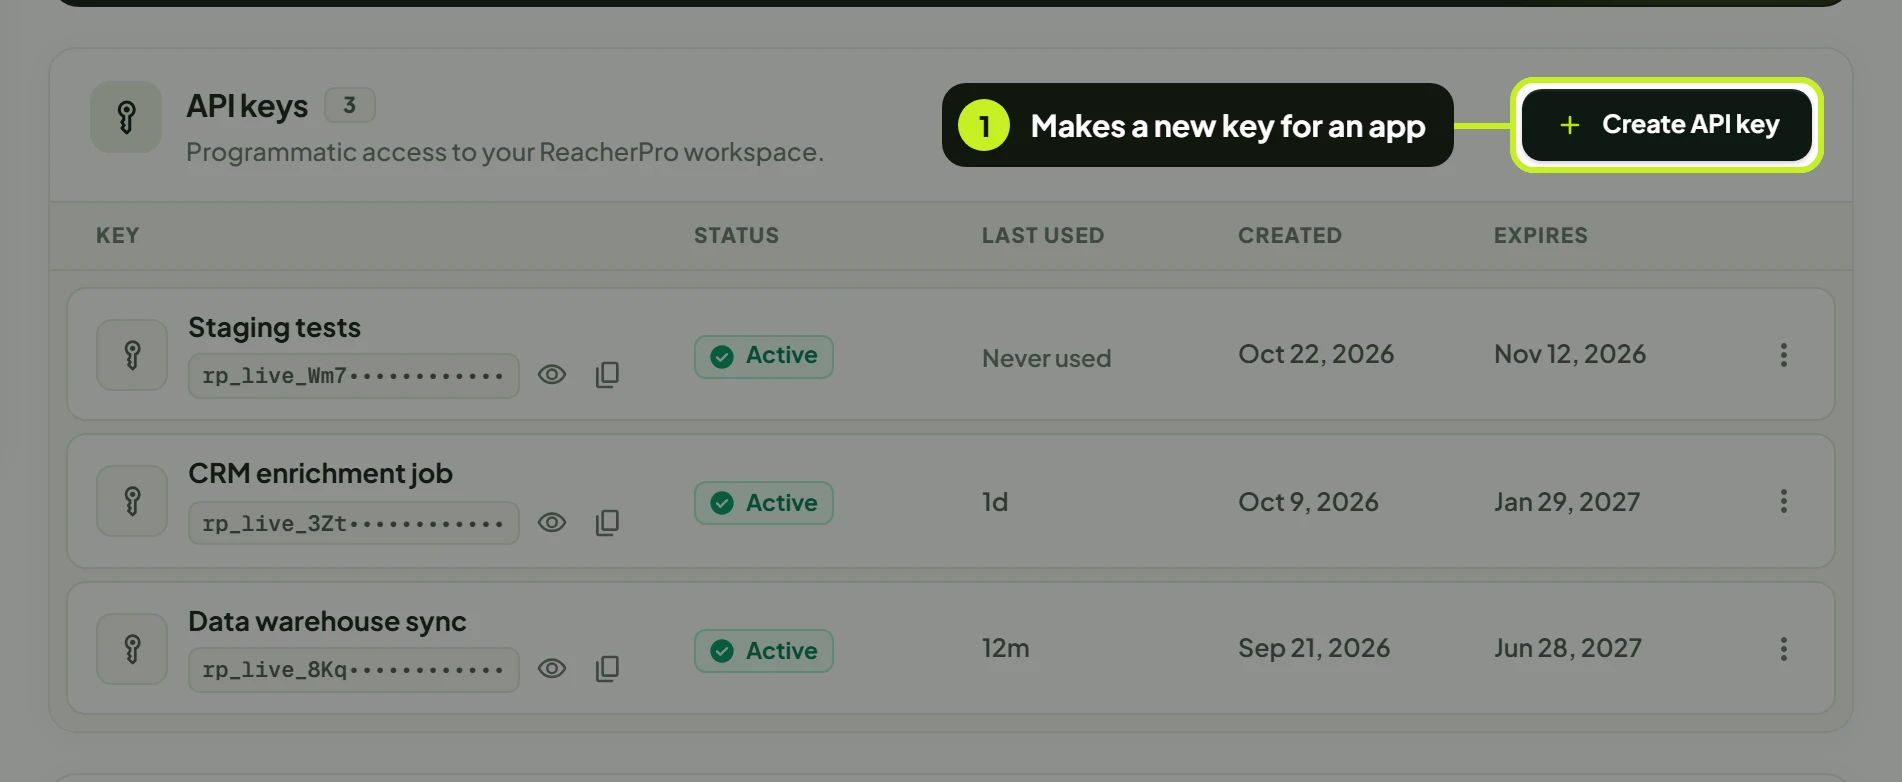
| API keys | Every key in the workspace, with a count next to the title, and Create API key. |
| Webhooks | Endpoints that receive events from ReacherPro. See Webhooks. |
Find the API reference
- On the API reference card, click Open reference. The reference opens in a new browser tab.
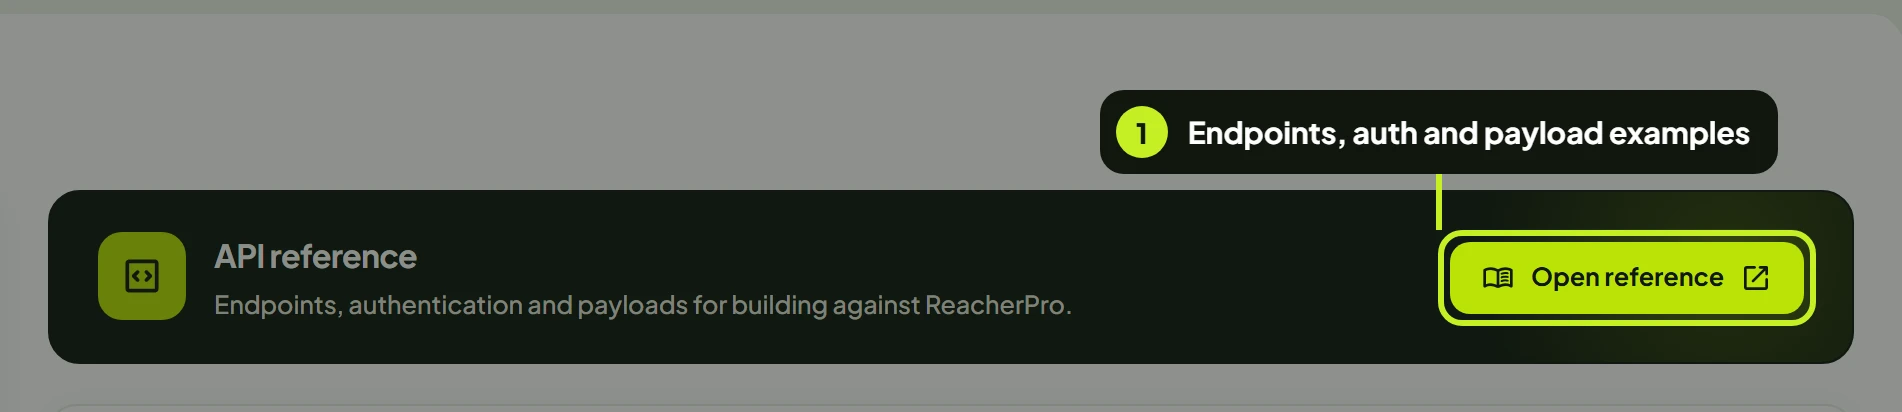
Use the reference for the exact address to call, how to send your key with each request, and what every request and response looks like.
Create a key
- On the API keys card, click Create API key.
- Enter a Key name.
- Optionally, pick a date in Expires on.
| Field | What it does | Example |
|---|---|---|
| Key name | Required. A label so you can tell keys apart later. Name it after the tool that will use it. | CRM sync, Internal dashboard |
| Expires on | Optional. The key stops working after this date. Leave it empty for a key that never expires. The date can't be in the past, and it can't be changed later. | 31/12/2026 |
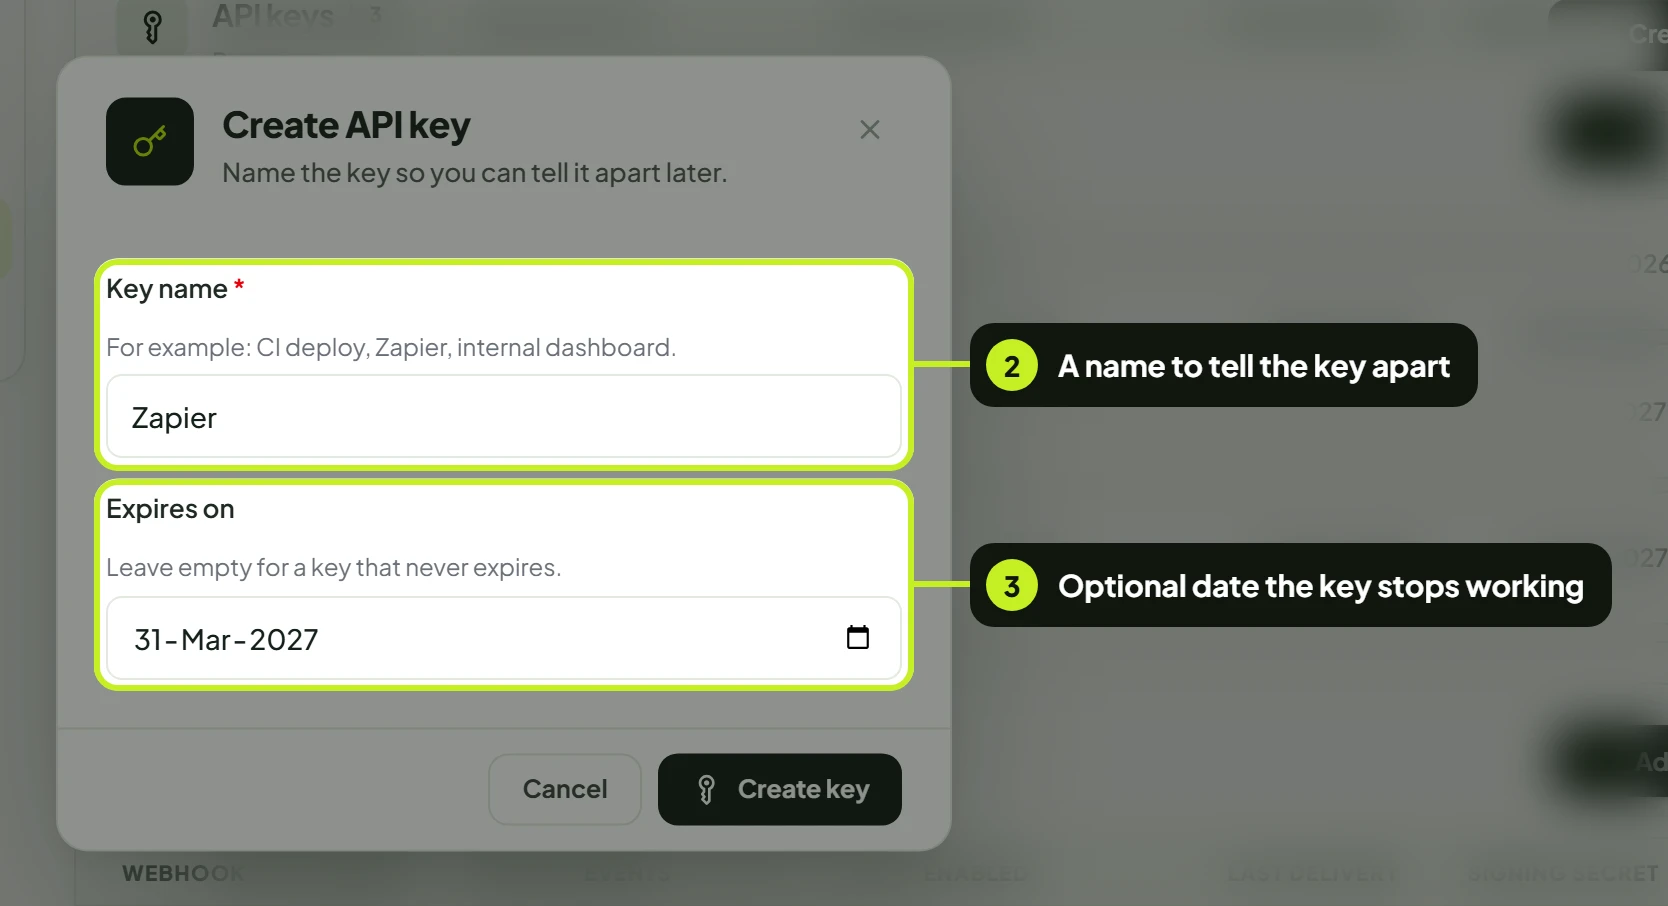
- Click Create key.
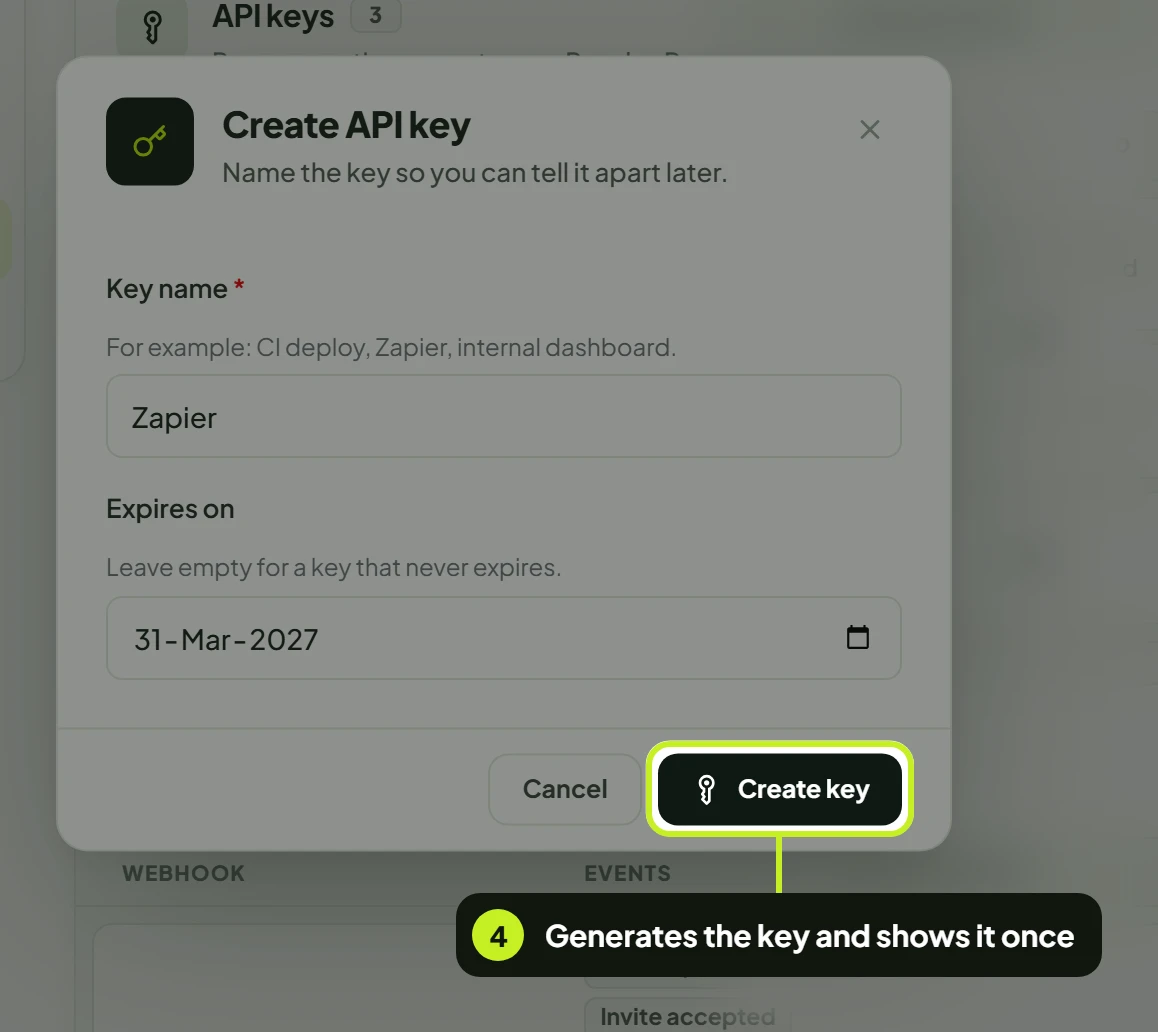
- In API key created, click Copy and paste the key into your tool or secrets manager. The button changes to Copied.
- Click I've saved it.
Warning: Copy this key now — it is shown once and cannot be retrieved again. The API key created window only closes from I've saved it, so you can't lose the key with a stray click. If you close it without copying, revoke that key and create a new one.
Read the keys table
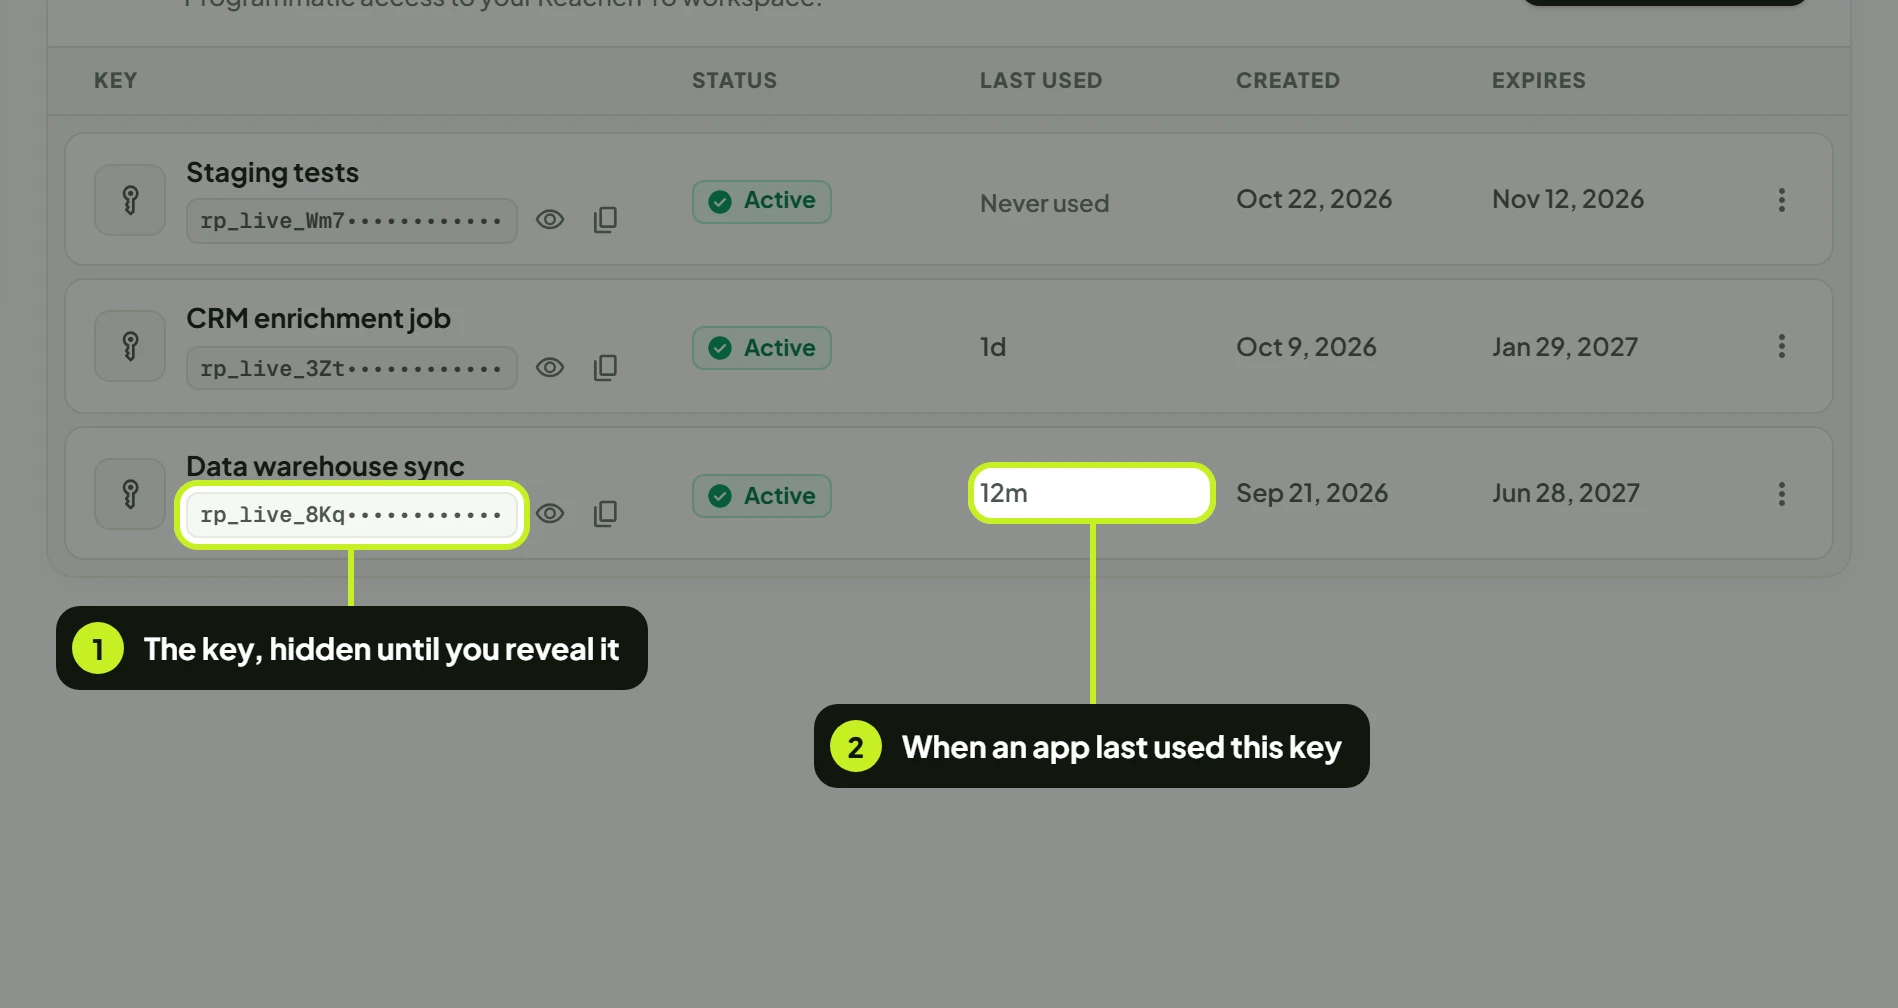
- A key you've just created shows its full value, hidden behind dots, with an eye to show it and a copy button. The copy button ticks and its tooltip reads Copied for a moment. Older keys only show the start of the key, like
rp_Qm7c2e…— hover it to see The full key is shown once, when it is created. - The other columns show where each key stands.
| Column | What it shows |
|---|---|
| Key | The name, and the start of the key so you can match it to the one your tool uses. |
| Status | Active — the key works. Expired — its expiry date has passed. Revoked — it was revoked and no longer works. |
| Last used | How long ago the key last called the API, or Never used. Hover for the exact time. |
| Created | The date the key was created. |
| Expires | The expiry date, or No expiry. A date in red has already passed. |
Tip: A key that says Never used long after you created it is probably not needed. Revoke keys you don't use.
Rename or revoke a key
- Click the ⋮ menu at the end of the key's row, then choose Rename or Revoke key.
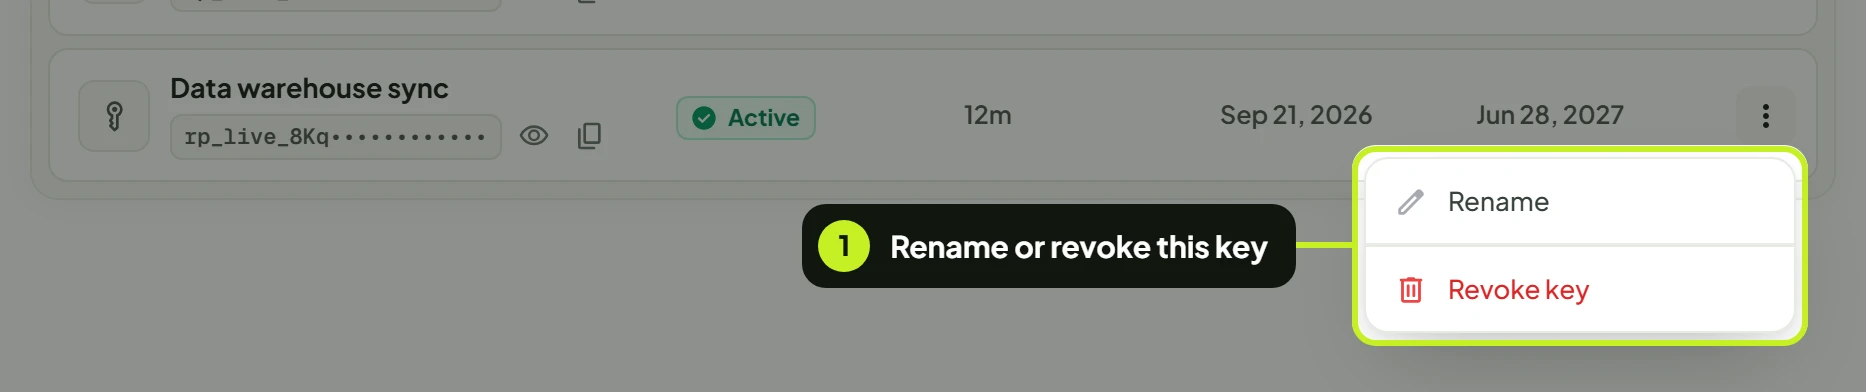
- Rename opens Rename API key. Only the name changes; the key itself stays the same, so nothing that uses it breaks. Click Save name — you'll see Key renamed.
- Revoke key asks Revoke this API key? — the key stops working immediately, and anything calling the API with it will start failing. Click Revoke key to confirm, or Cancel.
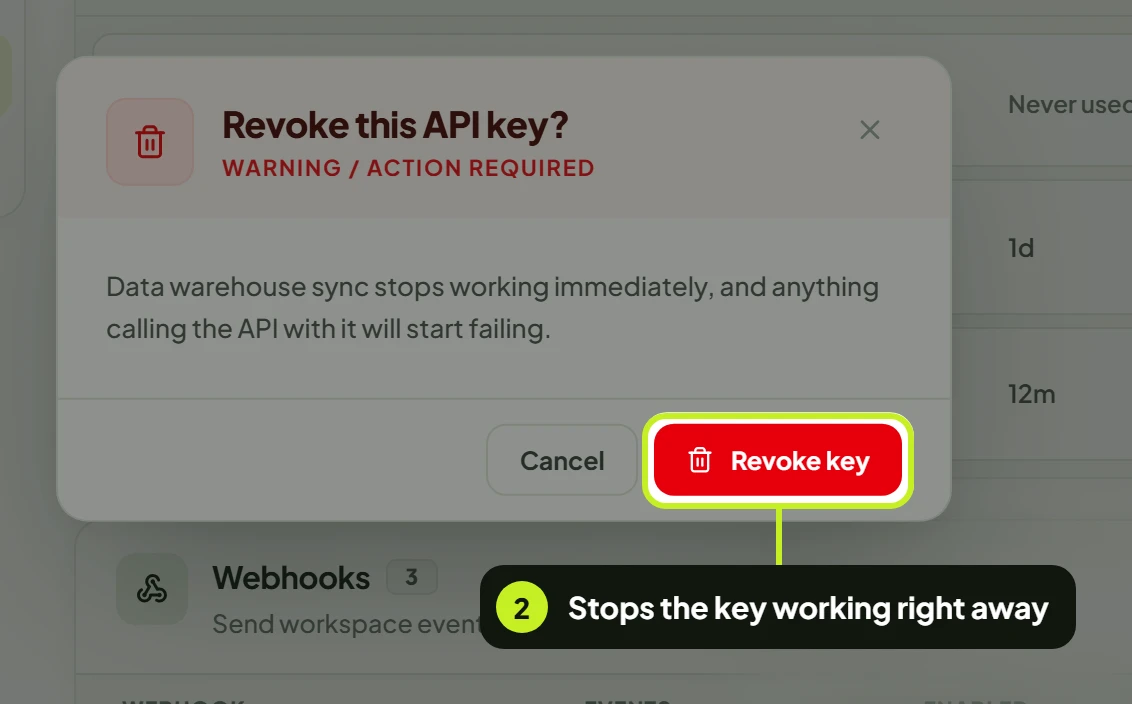
You'll see Key revoked — That key can no longer call the API.
Replace a key without downtime
- Create a new key and copy it.
- Update your tool to use the new key and check it works — its Last used updates.
- Revoke the old key.
Common problems
| What you see | What it means | What to do |
|---|---|---|
| Give the key a name. | Key name is empty. | Enter a name. |
| Could not save the API key. Please try again. | The key wasn't created or renamed. | Try again. |
| The key was created, but the API did not return its secret. Create a new one if you need the value. | The key exists, but its value can't be shown. | Revoke it and create a new key. |
| Could not revoke the API key. Please try again. | The key still works. | Try again from the row menu. |
| You lost a key's value | Keys are only shown once. | Create a new key, switch your tool to it, then revoke the old one. |
| Your tool's requests fail | The key is Expired or Revoked, or isn't being sent the way the reference describes. | Check the key's Status, then check your requests against the API reference. |
| Create API key is greyed out with a tooltip | Your role can't create keys. | Ask a workspace admin to update your role. |
| There's no API reference card | The reference link isn't set up for your workspace. | Contact ReacherPro support for the API reference. |
Next: Get events pushed to you as they happen with Webhooks, or connect your CRM in CRM integrations.