
Browse docs
Tags, unread and lead details
Label conversations with tags, filter by them, send a thread back to unread, and read everything ReacherPro knows about a lead without leaving the inbox.
Updated
On this page
Three tools keep a busy inbox in order: tags say what a reply means, Mark as unread brings a thread back later, and the Lead details panel shows who you're talking to. This guide covers all three. For reading and writing messages, see Reply from Conversations.
How it works
- A reply arrives and shows as unread.
- You open it — it's marked read, here and on LinkedIn — and read the lead's details beside the thread.
- You tag it (interested, meeting booked, not interested…) so anyone on your team can see where it stands.
- If you need to come back to it, you mark it unread. It returns to the Unread tab with a dot.
Tag a conversation
From the list
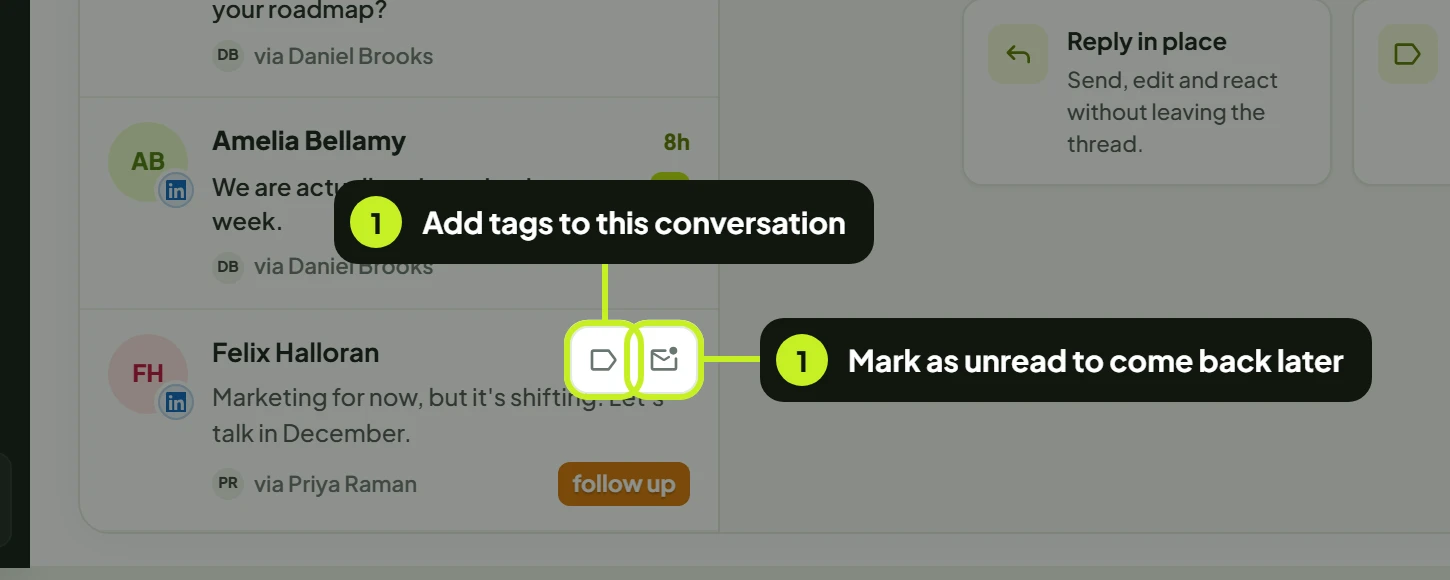
- Hover a row and click Add tags (the label icon). You don't need to open the thread.
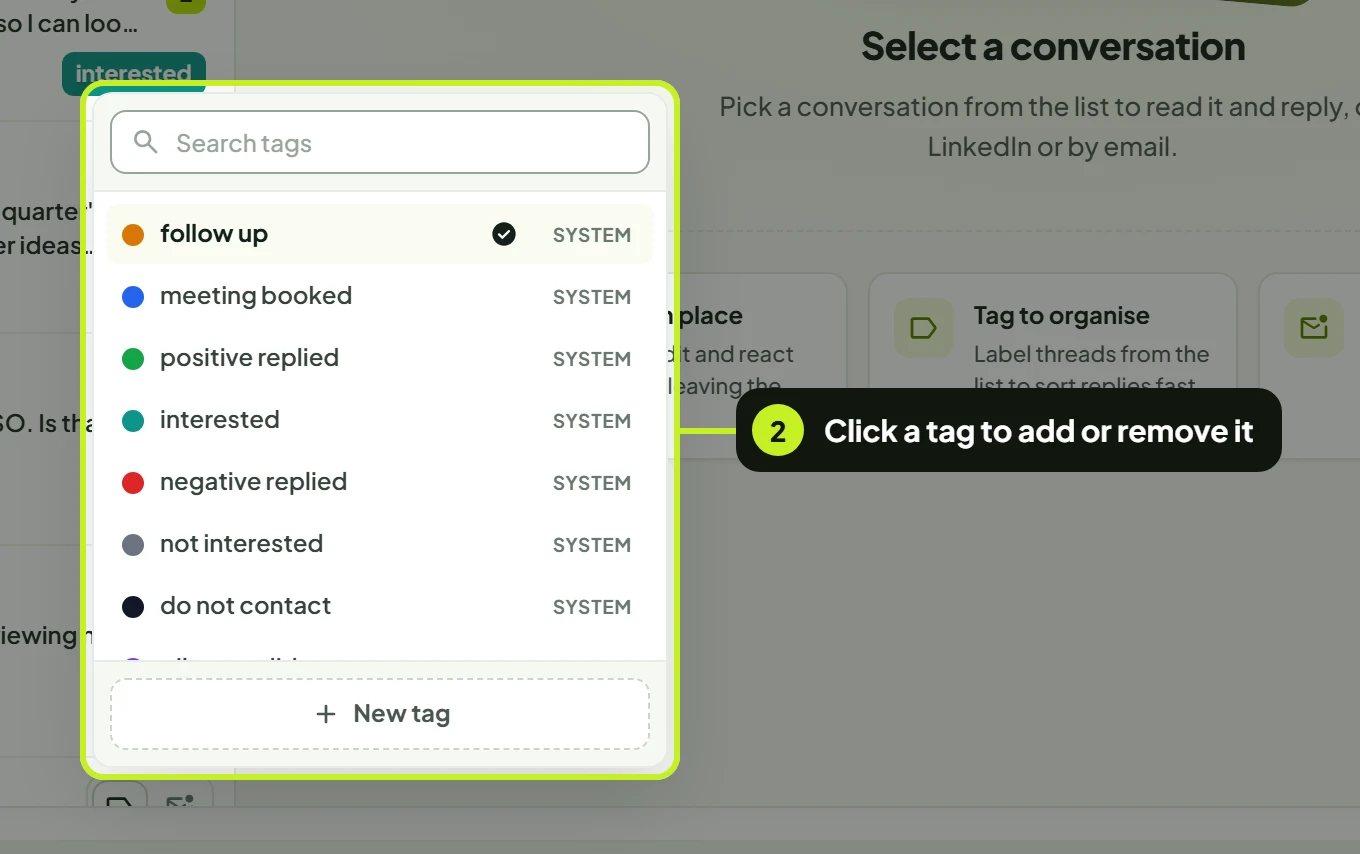
- Click a tag to add it. A check mark shows it's on the conversation. Click it again to remove it. Use Search tags to find one in a long list.
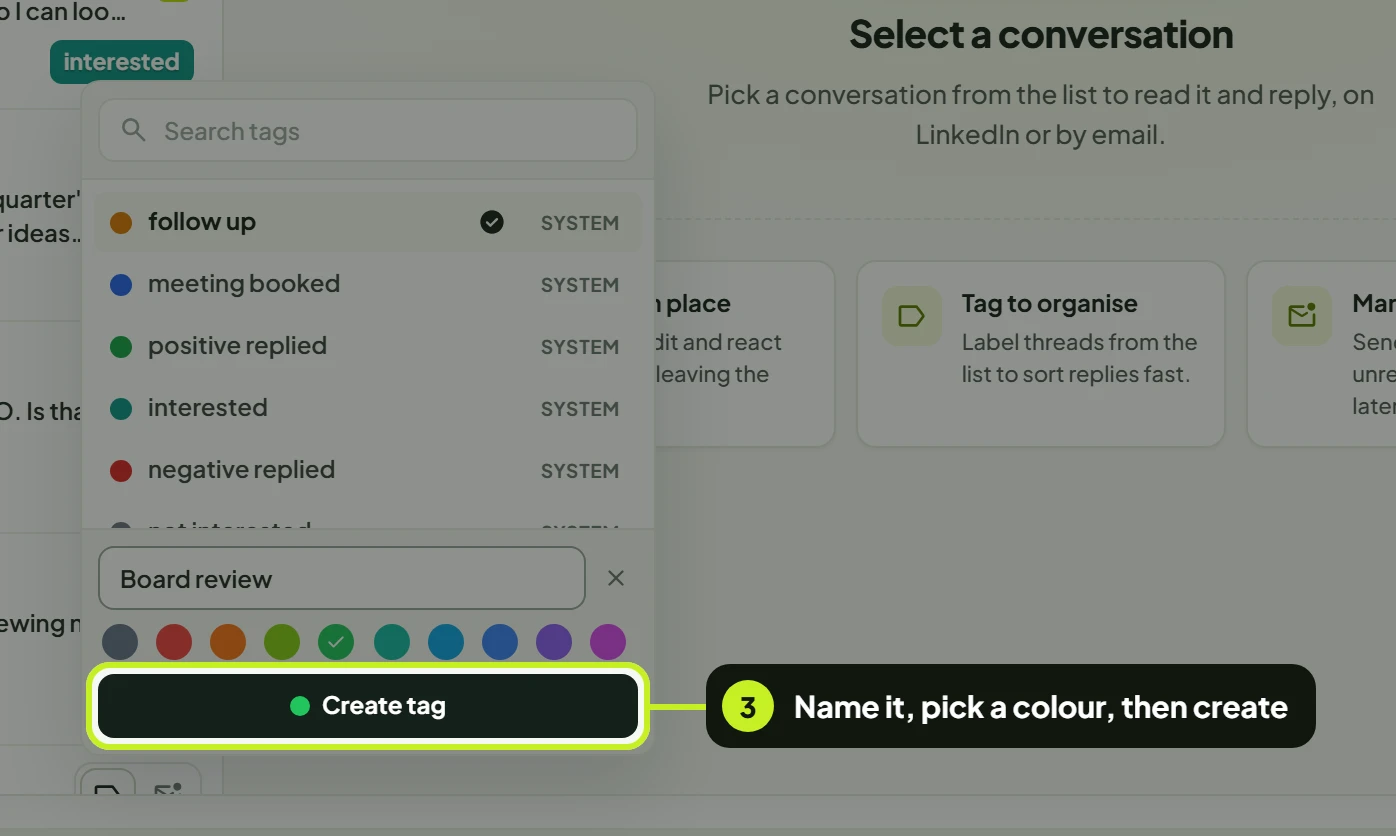
- To make your own tag, click New tag, type a Tag name, pick a colour and click Create tag. The new tag is added to the conversation straight away.
A conversation can have several tags. The row shows the first one, with +1, +2 and so on for the rest.
From an open thread
The conversation's tags sit in the thread header, next to the lead's name. Click + (Add tags) beside them to open the same picker.
System tags and your own tags
| Kind | Examples | What you can do |
|---|---|---|
| System tags | meeting booked, positive replied, interested, follow up, negative replied, not interested, do not contact | Add and remove them. They're built in, so they can't be renamed or deleted — they show a System label. |
| Your own tags | pilot candidate, Q4 pipeline | Add and remove them, and use the pencil and bin next to each one to rename or delete it. |
Note: Deleting a tag asks you to confirm Delete tag? and removes it from your workspace, so it disappears from every conversation that had it.
Tip: The do not contact tag is a label only. To stop campaigns reaching someone, add them to your blocklist — see Use the blocklist.
Filter by tag
- Click All tags above the list and pick a tag. Only conversations with that tag are shown. Choose All tags again to clear it.
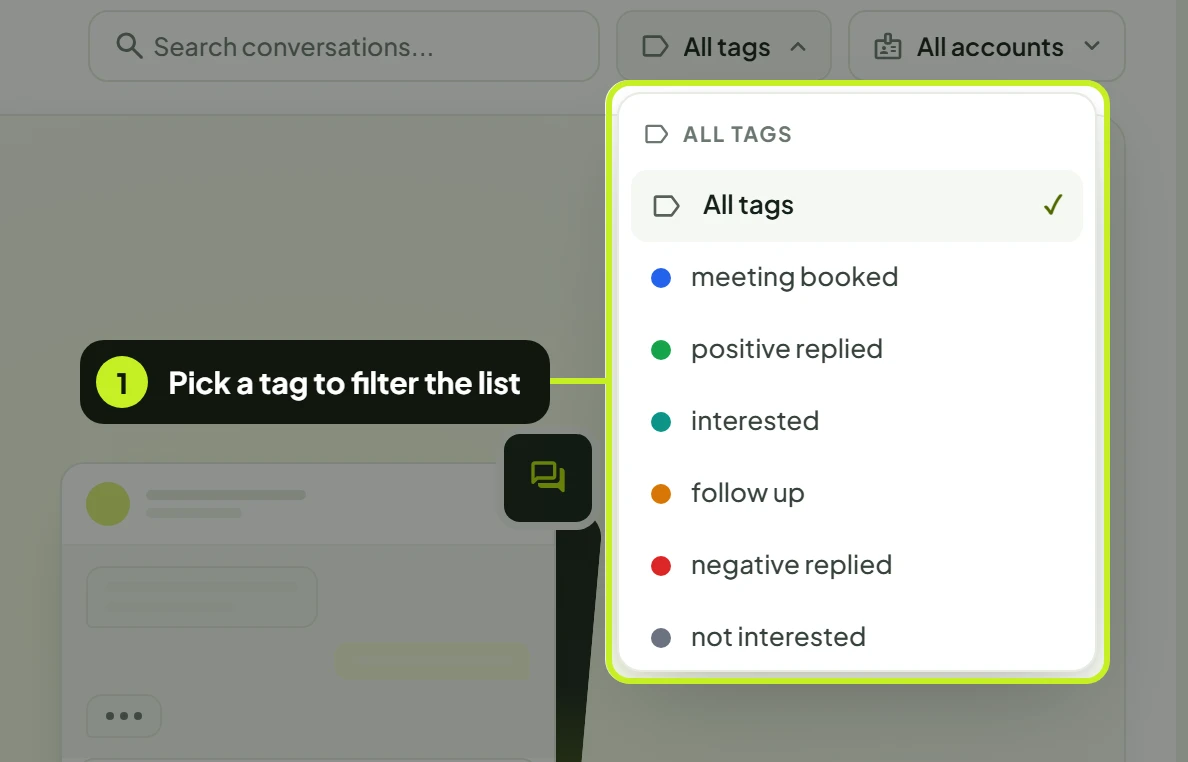
The tag filter works together with the channel switch, the status tabs, search, All Accounts and All Campaigns — for example, Email + Unread + interested.
Mark a conversation as unread
Use this when you've read a reply but need to act on it later.
- From the list: hover the row and click Mark as unread (the envelope). It's shown on rows that have no unread messages.
- From an open thread: click Mark as unread in the thread header.
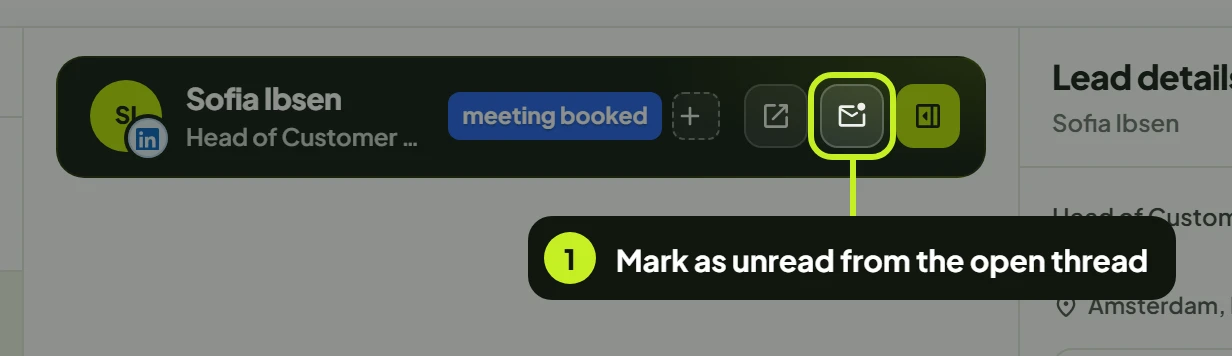
What happens:
- The conversation goes back to the Unread tab and the Unread count goes up.
- The row shows a dot instead of a number, so you can tell you marked it yourself.
- LinkedIn conversations are marked unread on LinkedIn too.
- Opening the conversation again marks it read.
Read the lead's details
The Lead details panel sits to the right of the thread. On wide screens it opens by itself when you open a conversation. On narrower screens, open it from the header.
- Click Show lead details in the thread header. Click the × at the top of the panel (Hide lead details) to close it.
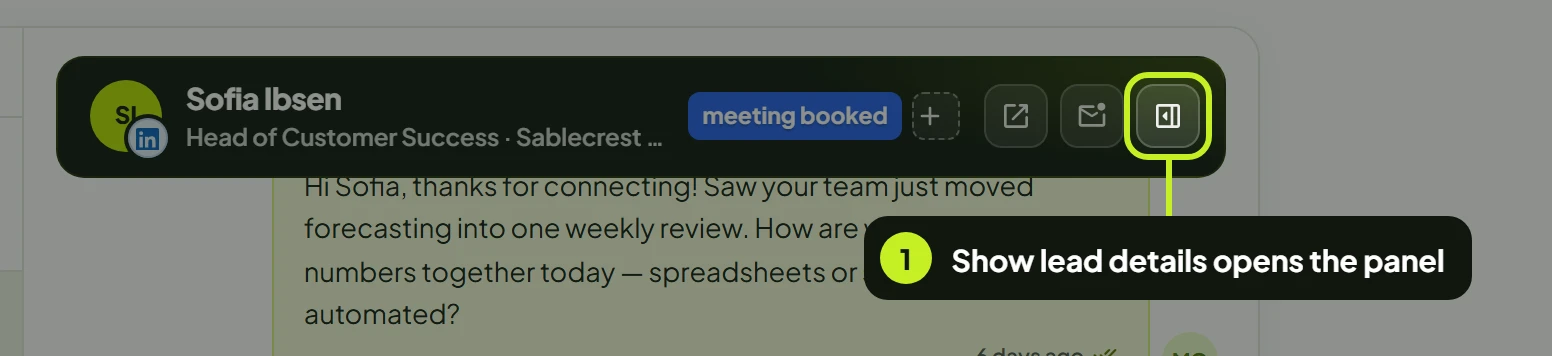
The panel is split into sections, top to bottom. A section only appears when there's something to show.
Profile
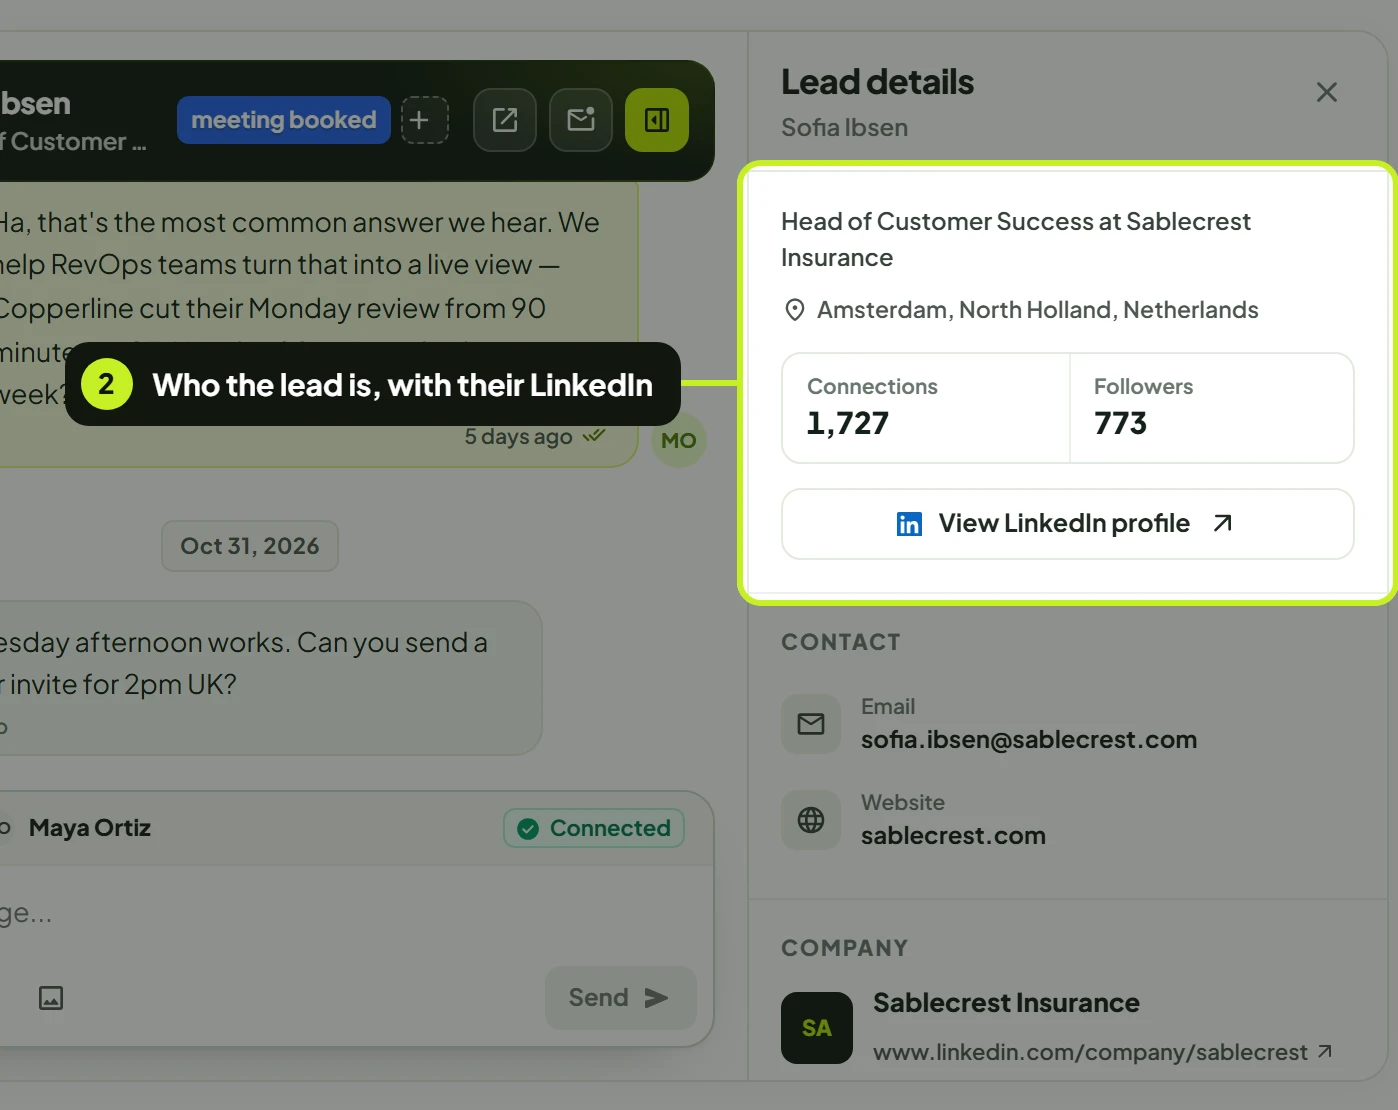
- The top of the panel shows who the lead is: their name, role and company, LinkedIn headline, location, how you're connected (for example 1st degree) and markers such as Premium. Below that are Connections and Followers, and View LinkedIn profile opens their profile in a new tab.
Contact and Company
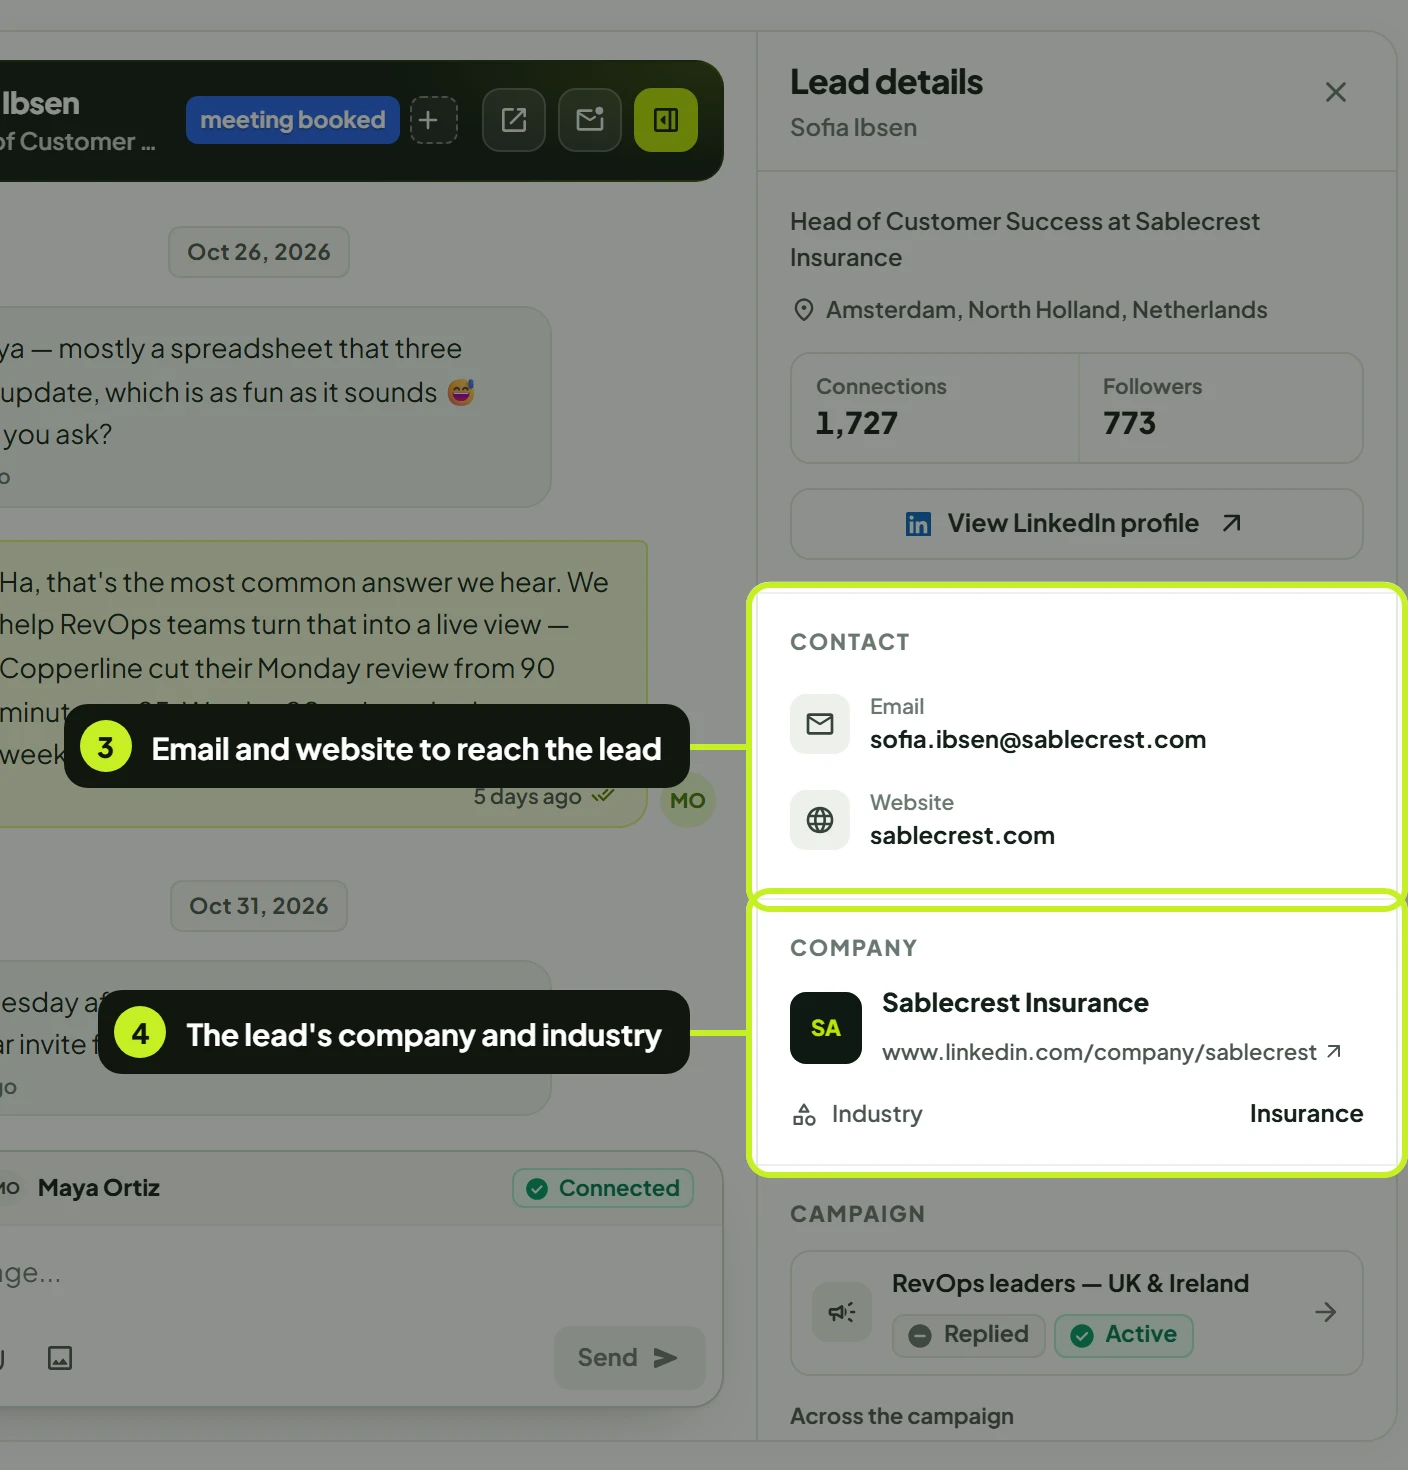
- Contact lists the lead's Email, Phone and Website. Click one to email, call or open it, or use Copy next to it.
- Company shows the company name, a link to its LinkedIn page, and its Industry when known.
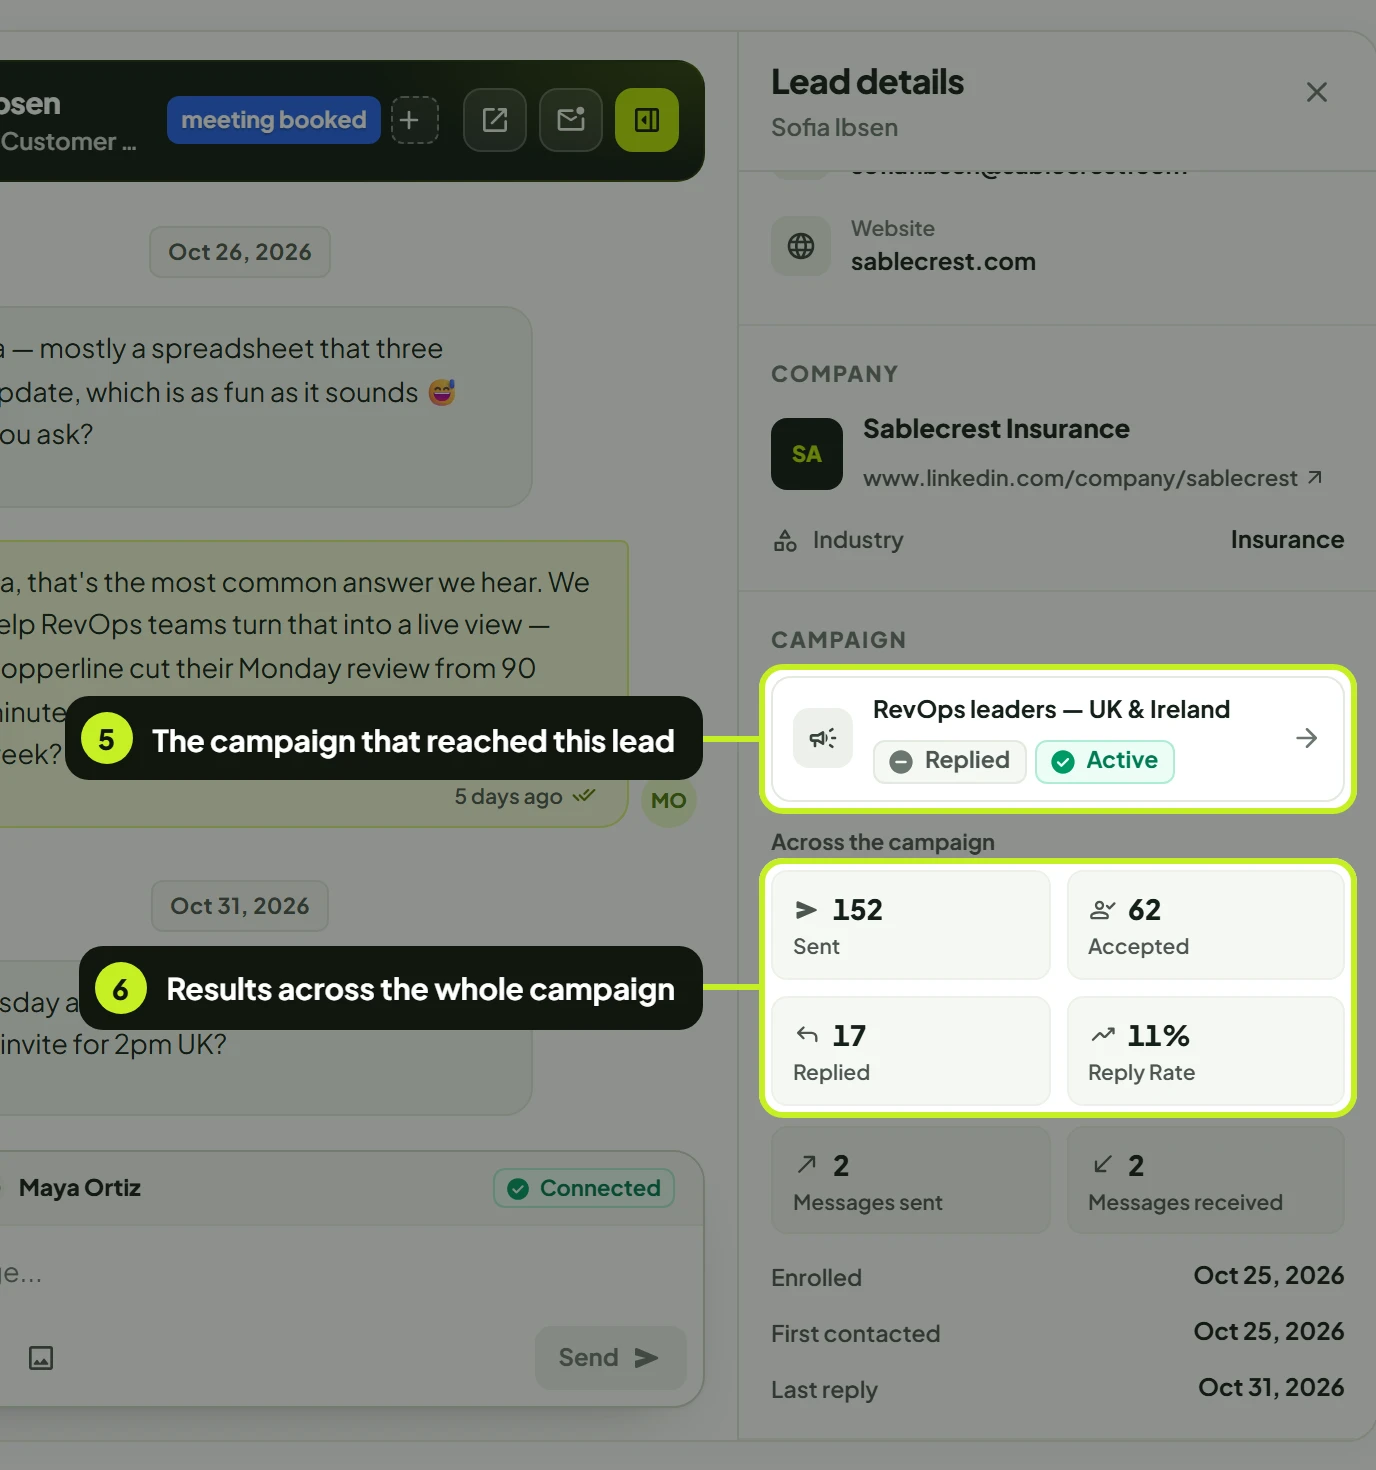
Campaign
- The campaign tile shows which campaign reached this lead, the lead's state in it (for example Replied) and the campaign's status (for example Active). Click the tile to open the campaign.
- Across the campaign shows the whole campaign's results: Sent, Accepted, Replied and Reply Rate for LinkedIn (Emails Sent and Opened for email campaigns). Under it are this conversation's Messages sent and Messages received, and the dates the lead was Enrolled, First contacted and last replied (Last reply).
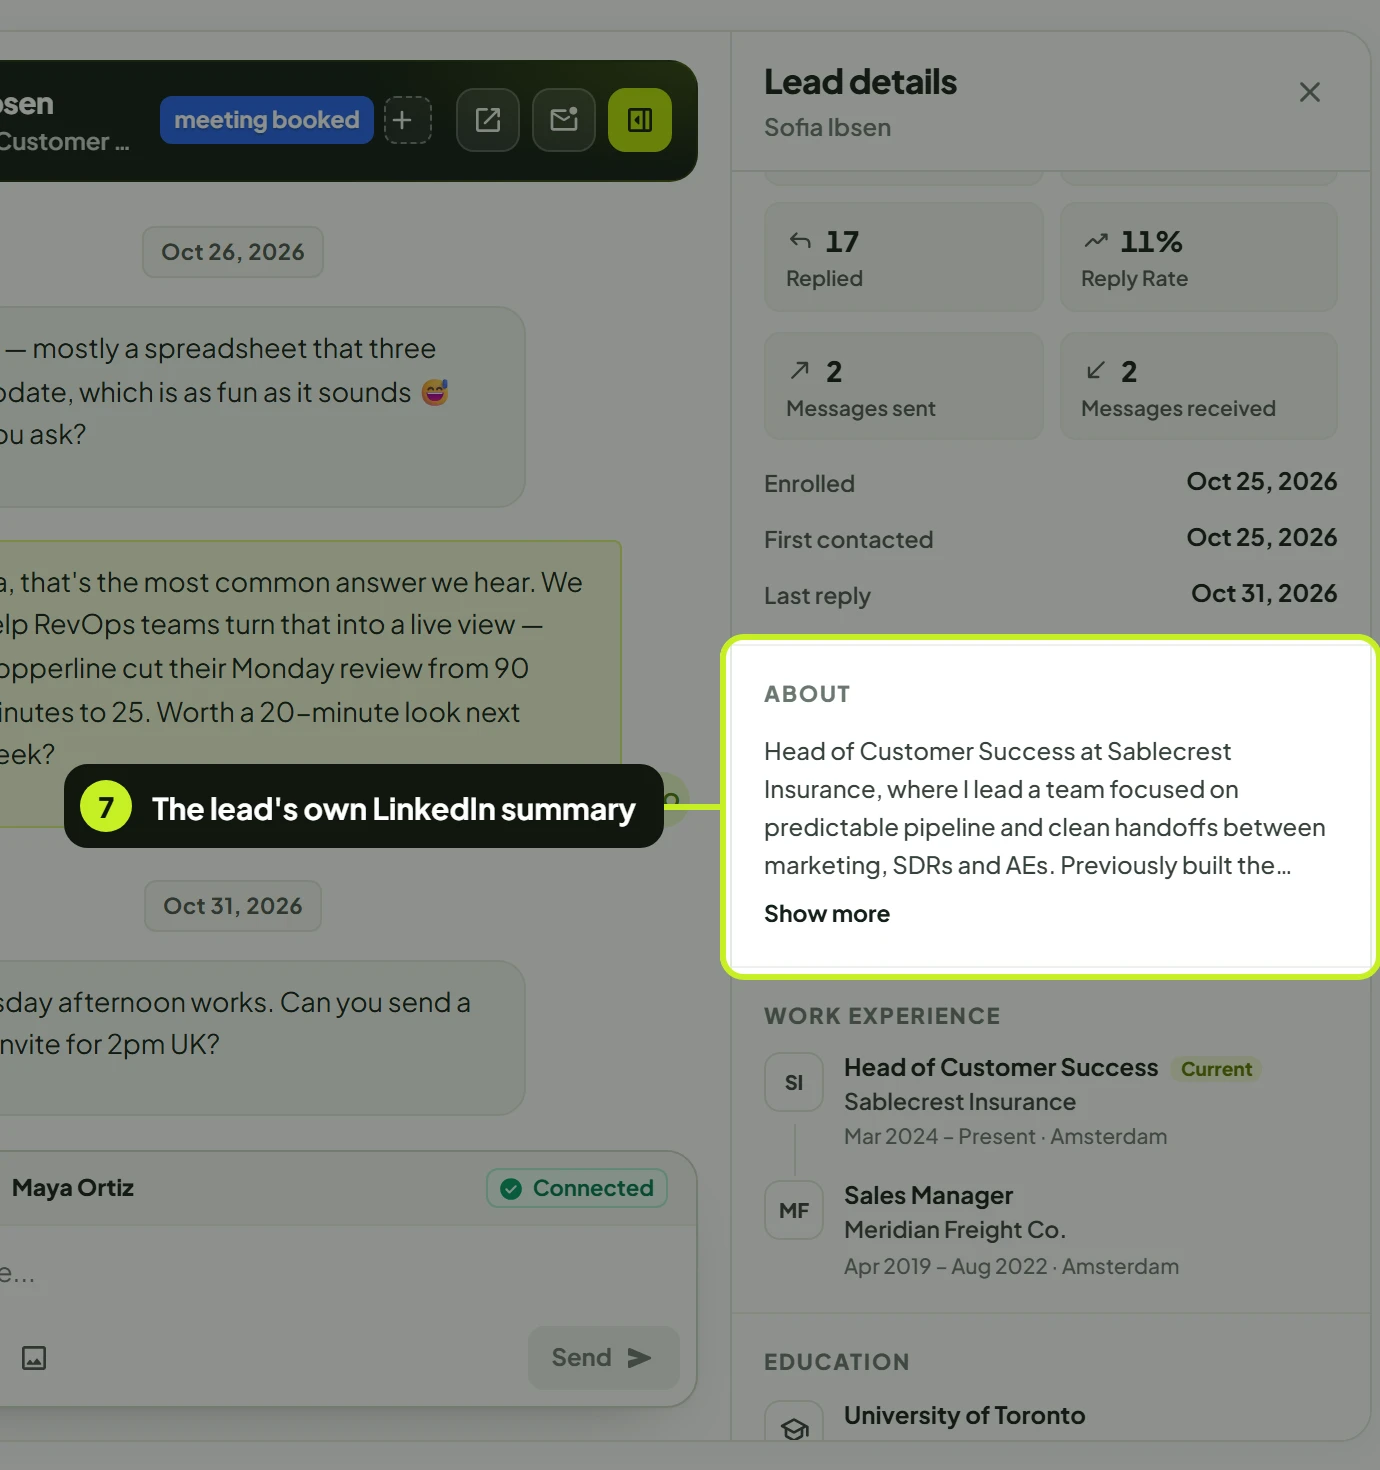
About
- About is the lead's LinkedIn summary. Click Show more to read all of it.
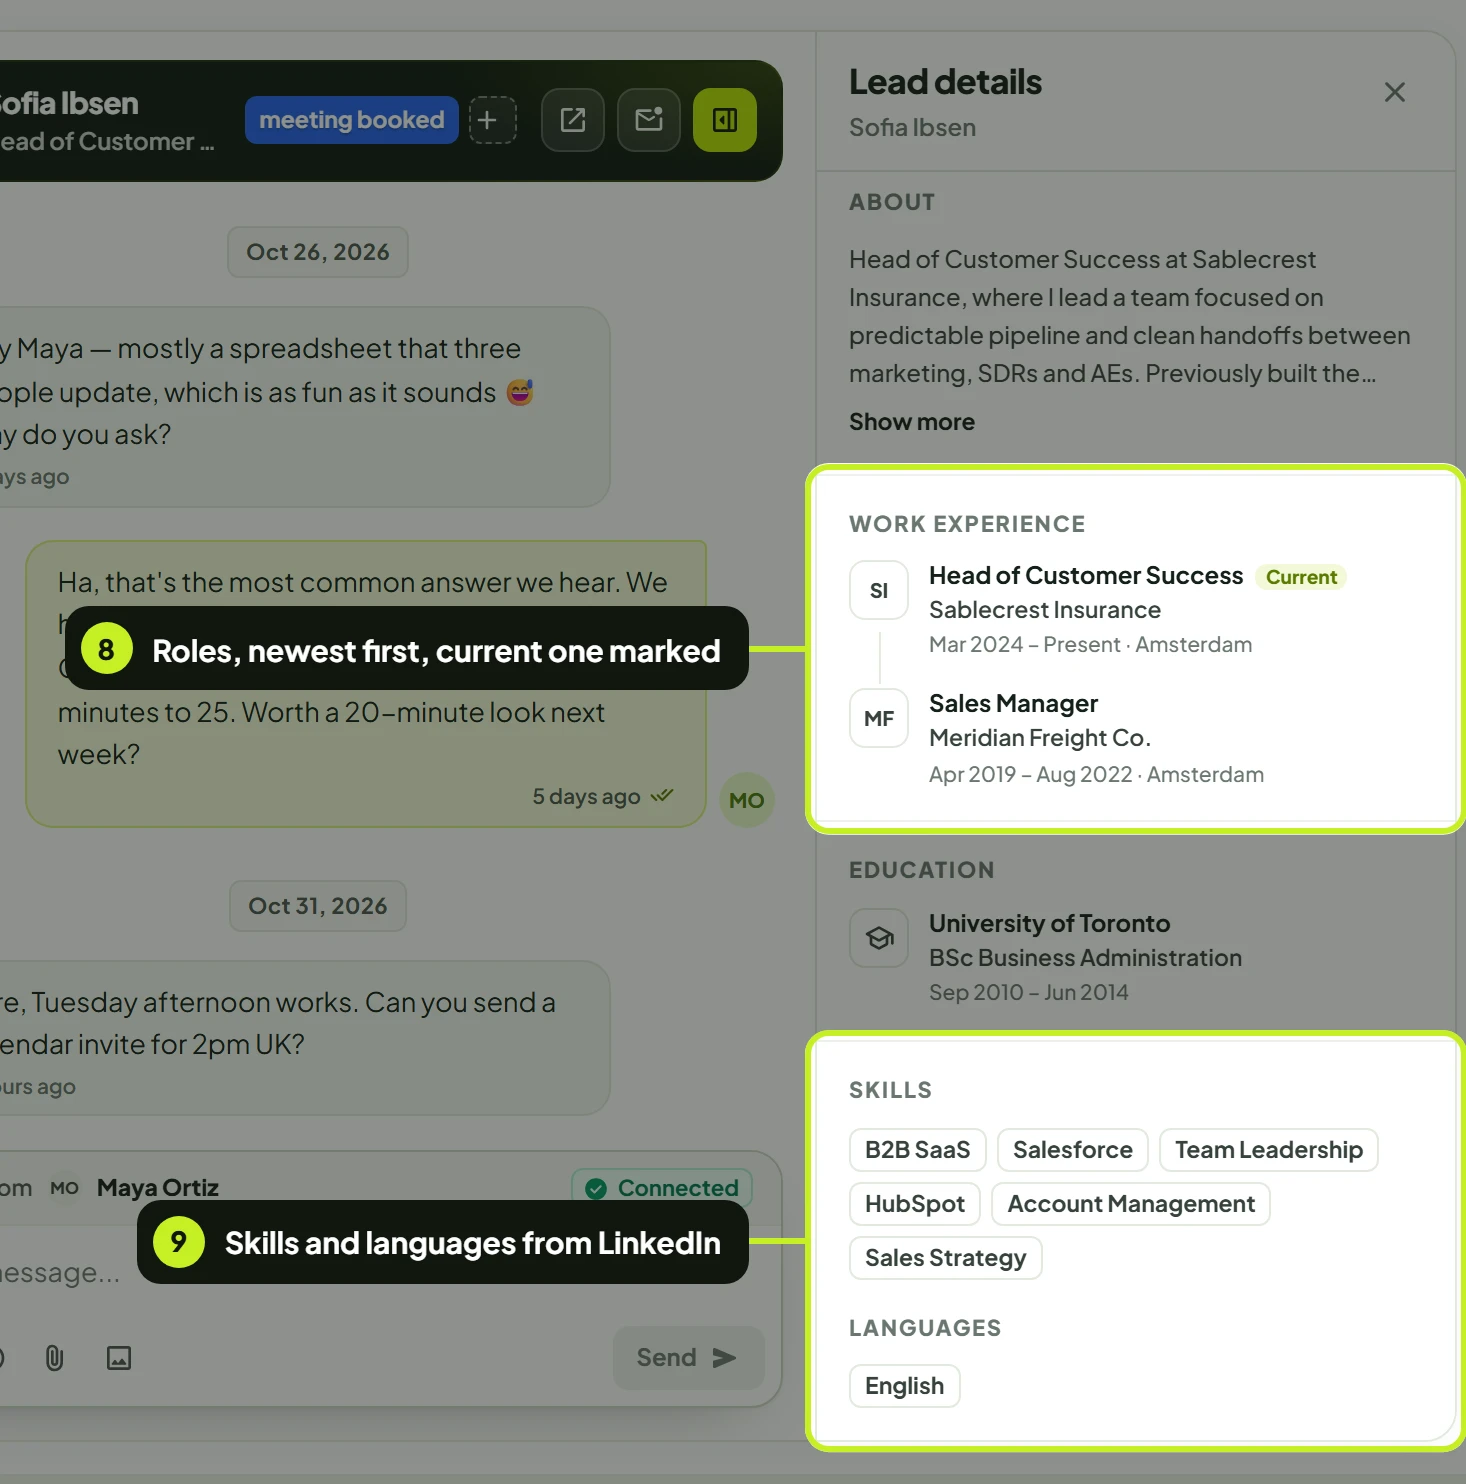
Experience, education and skills
- Work Experience lists the lead's roles, newest first, with Current on the role they hold now. Education follows.
- Skills and Languages come last. Click + and a number to see every skill.
Note: Email leads usually have less to show — often just a name, an email address and the campaign — because the panel only shows what's known about the lead.
Common problems
| What you see | What it means | What to do |
|---|---|---|
| Could not update tags. Please try again. | The tag change didn't save. | Open the picker and click the tag again. |
| Unable to mark this conversation unread. Please try again. | The conversation is still marked read. | Try again from the row or the thread header. |
| That tag already exists | You typed the name of an existing tag in New tag. | Pick the existing tag from the list instead. |
| A tag has no pencil or bin | It's a System tag. | System tags can be added and removed, but not renamed or deleted. |
| Add tags or a button is greyed out with a tooltip | Your role doesn't allow changing conversations. | Ask a workspace admin to update your role. |
| No Mark as unread on a row | The conversation already has unread messages. | Nothing to do — it's already in Unread. |
| The Lead details panel isn't showing | It's closed, or the screen is too narrow to show it beside the thread. | Click Show lead details in the thread header. |
Next: Send replies and events to your own tools with Webhooks.